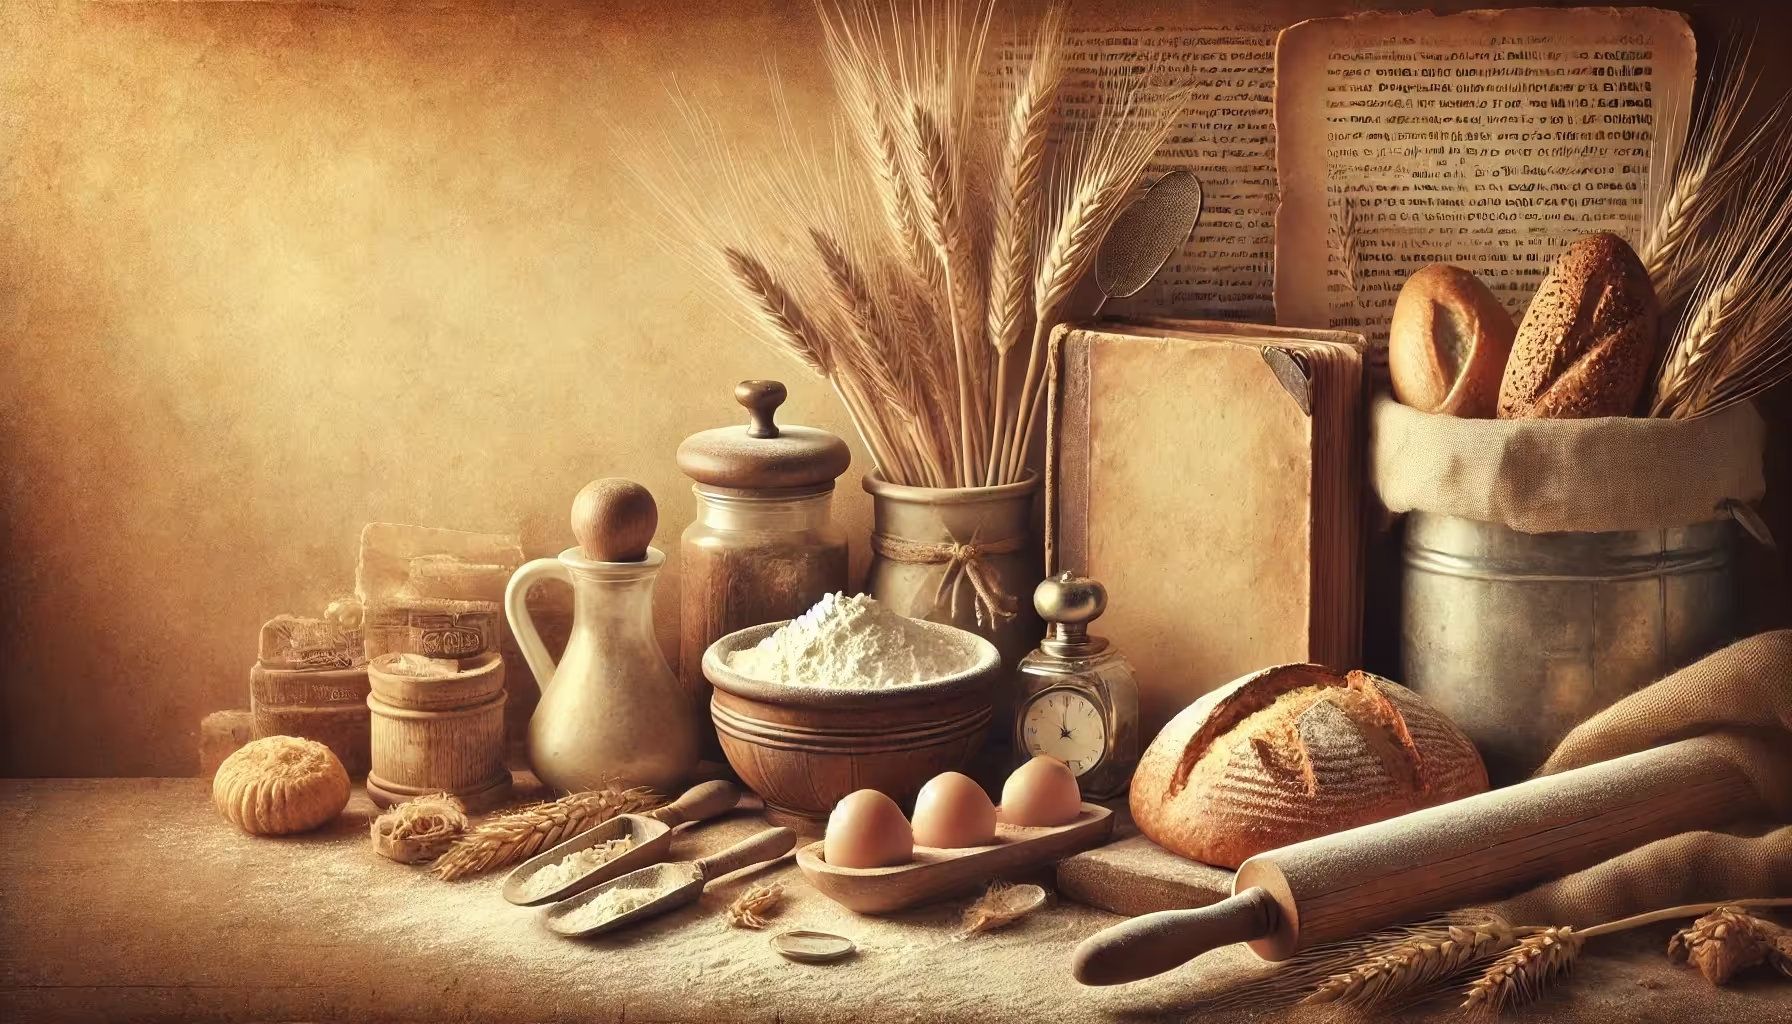

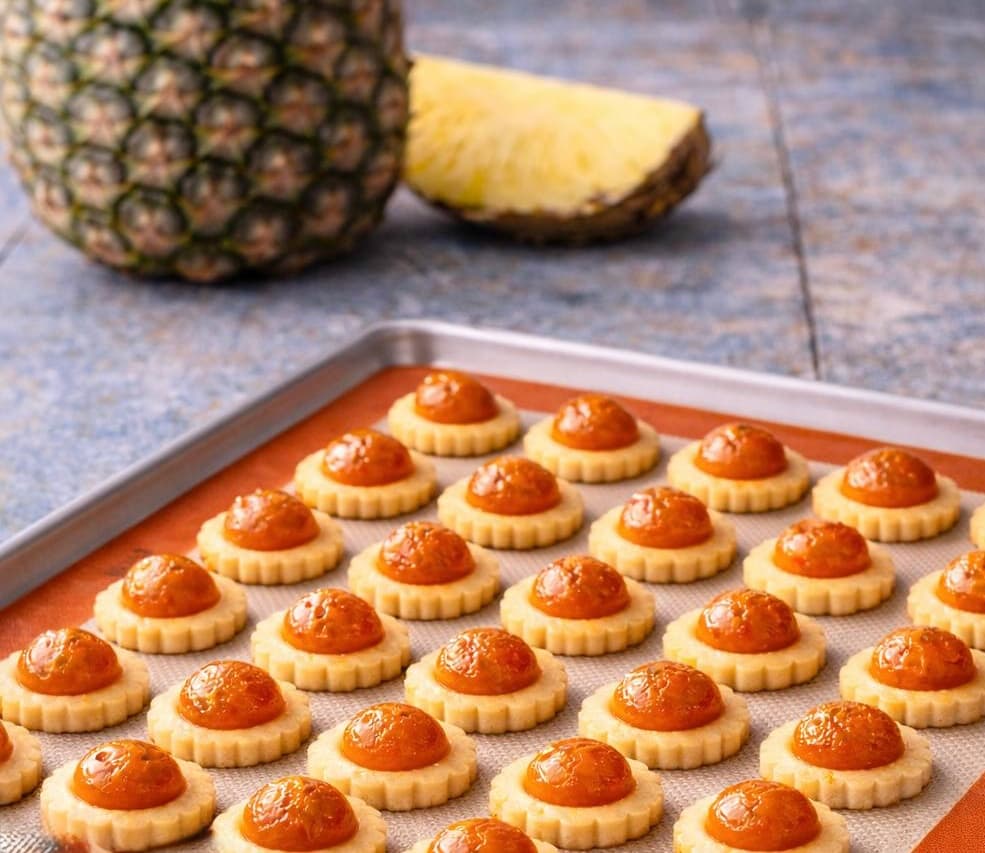
Pineapple Tarts with Homemade Jam
Pineapple tarts with homemade jam — use a grater or food processor and choose between stove or oven-roasted jam for less fuss.
These buttery, golden pineapple tarts are a cherished festive bake across Southeast Asia. Traditionally made for Chinese New Year and other celebrations, they feature a soft, melt-in-the-mouth pastry and rich pineapple jam.
In this version, we’ve updated the jam-making process to give you two options: the traditional stove method or an easier oven-roasting method. And instead of grating pineapples by hand, you can also use a food processor, just with a bit of care.
Recommended Tools for Pineapple Tarts
Making pineapple tarts at home is easier with the right tools. These are some kitchen essentials we love for this recipe:
- Food Processor speeds up pineapple prep. Just pulse briefly to avoid over-blending.
- Box Grater breaks down fresh pineapple into pulp to get that smooth and even jam. This stainless steel box grater comes with a non-slip base and detachable container.
- Wave Cookies Cutter with Fluted Edge to get that signature flower shape and neat tart base. You can also use traditional tart moulds or cookie cutters with floral or Peranakan-inspired designs.
- Nordic Ware Naturals Half Sheet is ideal for oven-roasting the jam and baking the tarts evenly.
- Silicone Spatula (Heatproof) perfect for folding roasted jam and scraping browned edges into the centre.
- Silpat Baking Mat prevents sticking and ensures golden bottoms.
- Small Cookie Scoop (1 Tbsp) helps portion jam evenly for consistent tart size.
📖 Want to learn how this tropical bake became a symbol of prosperity across Singapore, Malaysia, and Indonesia?
👉 Read the full story here: The History of Pineapple Tarts

Pineapple Tarts with Homemade Jam
Ingredients
- FOR PINEAPPLE JAM:
- 2 ripe pineapples (about 1.8–2kg total weight)
- 200–250g granulated sugar (adjust to taste and sweetness of pineapple
- 3–4 cloves
- 1 small cinnamon stick (optional)
- FOR THE PASTRY:
- 350g plain flour
- 50g cornflour
- 50g icing sugar
- ¼ tsp fine salt
- 250g unsalted butter, cold and cubed
- 2 large egg yolks
- 1 tsp vanilla extract
- 1–2 tbsp cold water, if needed
- FOR EGG WASH:
- 1 egg yolk
- 1 tsp milk
Instructions
- 1
PREPARE THE PINEAPPLE: Peel and core the pineapples, removing the eyes and tough parts.
- 2
To prepare the pulp, you have two options: Use a box grater to grate the pineapple flesh manually. This gives the jam a lovely fibrous texture. Or, use a food processor. Pulse in short bursts until finely chopped. Avoid over-blending, as too fine a texture can make the jam too smooth and pasty.
- 3
COOK THE PINEAPPLE. Choose one of these two methods: Traditional Stove Method: Transfer the pineapple pulp to a wide non-stick pan or wok. Add sugar, cloves, and cinnamon. Cook over medium-low heat, stirring often, until the mixture thickens and darkens into a sticky jam. This can take 1.5 to 2.5 hours, depending on water content. Remove spices and cool completely before using.
- 4
Oven-Roasted Jam Method (Less Stirring!): Preheat oven to 180°C (fan). Spread the pineapple pulp evenly across a large, shallow baking tray. Sprinkle over the sugar, cloves, and cinnamon stick. Roast for about 1 hour. After the first hour, use a spatula to scrape and fold the darker edges into the centre.
- 5
The goal is to evaporate moisture evenly. Once the mixture thickens and begins to caramelise, you may transfer it to a pan and finish over the stove for a richer, even colour. Cool before shaping into 6–8g jam balls.
- 6
IMPORTANT NOTE: Your pineapple jam is ready when it’s thick, sticky, and deep golden in colour—able to hold its shape without leaking liquid. The mixture should reduce by at least half, with no more bubbling or excess moisture, and be firm enough to roll into a ball once cooled. If your jam is too moist or loose, it may bubble during baking.
- 7
MAKE THE PASTRY: In a large bowl, sift together flour, cornflour, icing sugar, and salt.
- 8
Add cold cubed butter and rub into the flour with fingertips until the mixture resembles fine breadcrumbs.
- 9
Add egg yolks and vanilla. Mix gently to form a soft, pliable dough. If the dough is too dry, add cold water a little at a time until it just comes together. Avoid overworking the dough.
- 10
Divide the dough into two portions, flatten slightly, wrap in cling film and chill for 30 minutes.
- 11
SHAPE THE TARTS:
- 12
Preheat oven to 170°C (fan). Line a baking tray with parchment paper.
- 13
Lightly flour your work surface and rolling pin. Roll out one portion of chilled dough to about 6–8 mm thickness.
- 14
Use a round fluted cookie cutter (about 4–5 cm diameter) to cut out tart bases.
- 15
Transfer to the prepared tray using a flat spatula or scraper.
- 16
Re-roll scraps once if needed. Work quickly to keep the dough cool and tender.
- 17
Place a ball of pineapple jam in the centre of each cut-out and press it gently into place.
- 18
Arrange on a lined tray. Chill for 20 minutes.
- 19
BAKE THE TARTS: Preheat oven to 180°C (170°C fan).
- 20
Brush exposed pastry edges around the jam of each tart with egg wash. It gives the tart a beautiful golden finish. Do not brush over the jam as it can cause it to dry out, burn or lose its sheen. It may also create an uneven colour or texture on the surface.
- 21
Bake for 20–25 minutes or until lightly golden. At 18–20 minutes, check if the pastry edges are lightly golden. The bottom should be set but not over-browned. If the jam starts bubbling or darkening too much, reduce oven temperature slightly by 10°C if you’re mid-bake. You can also move the tray to a lower rack or cover loosely with foil to protect the tops during the last few minutes.
- 22
Cool completely before storing in an airtight tin. They will keep well for 5–7 days. The flavour deepens after the first day.
Featured in our shop: Oven Thermometer