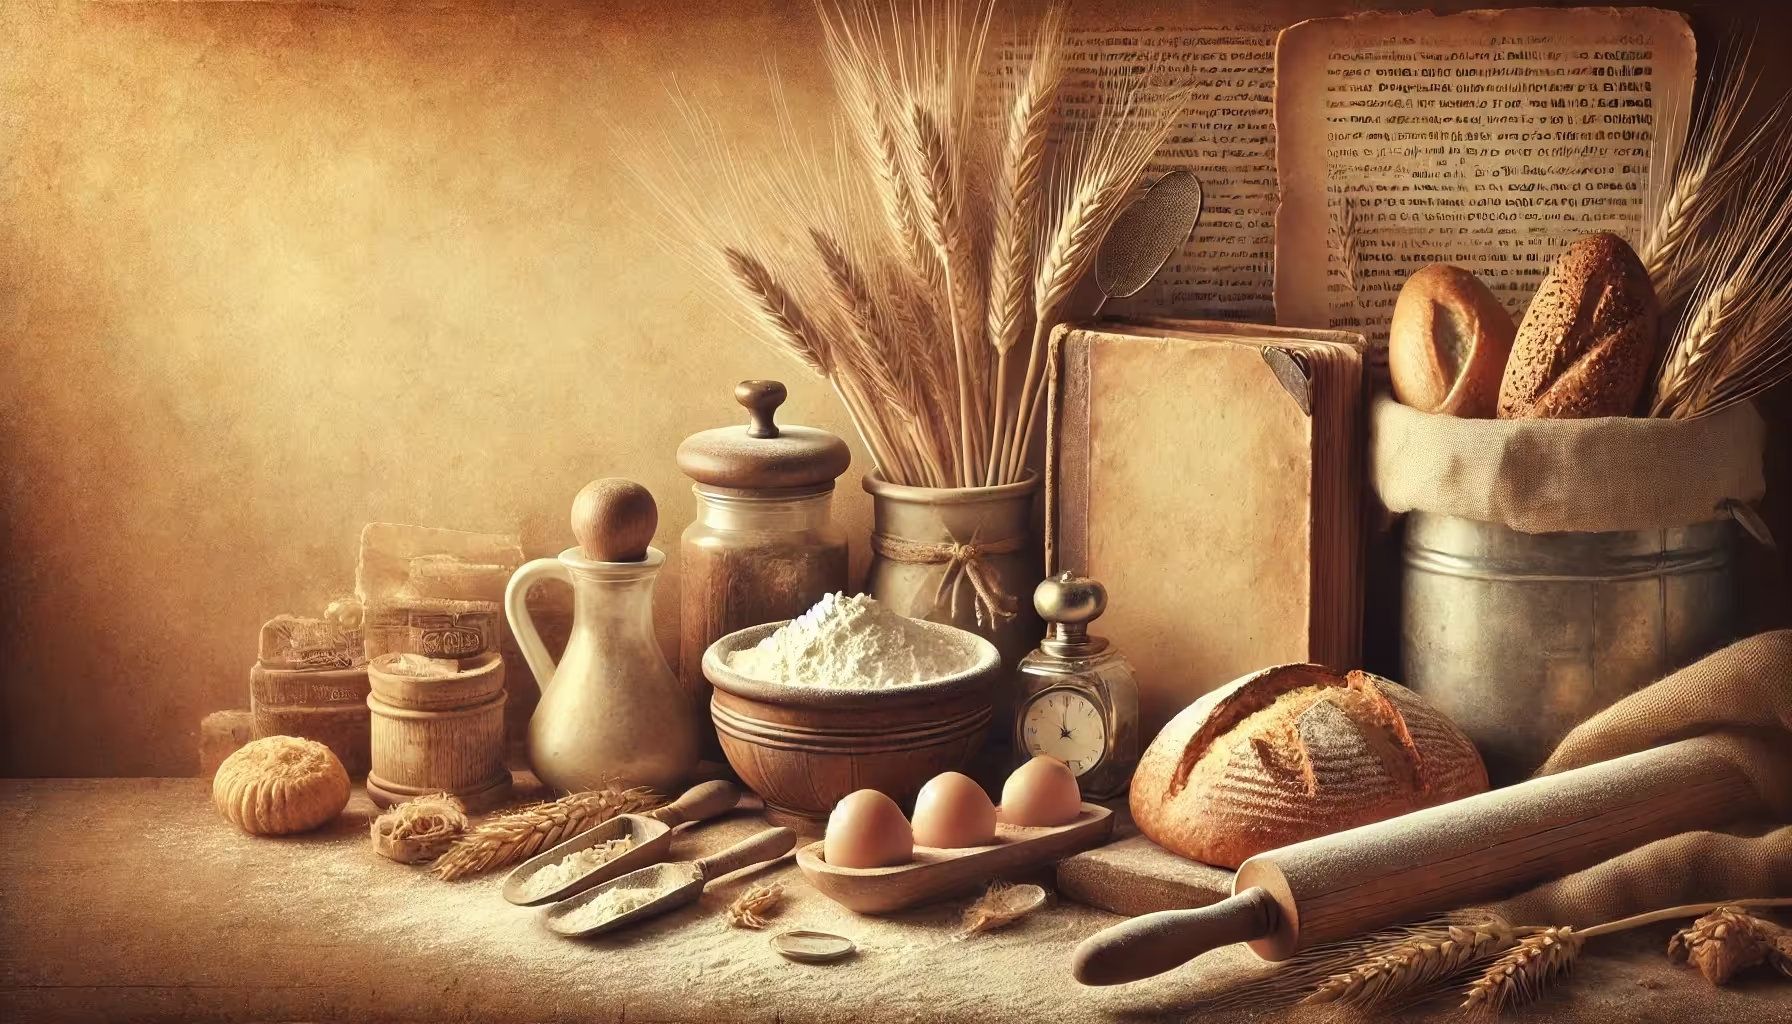

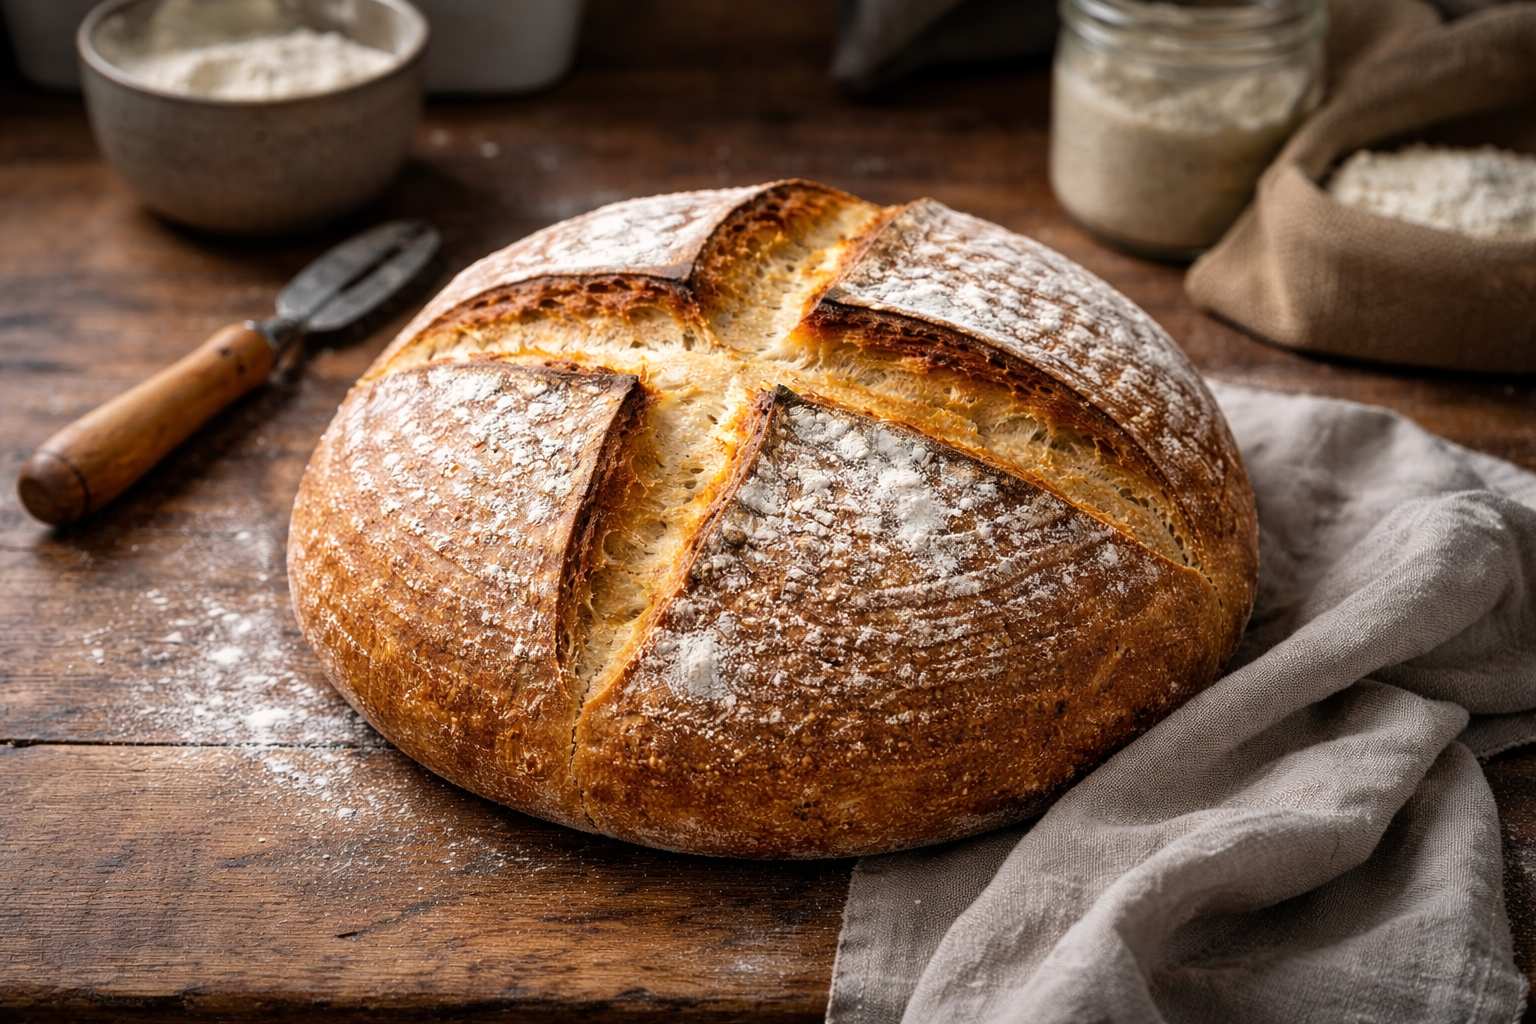
Easy Bread Recipe for Scoring
Easy homemade bread recipe perfect for practising decorative scoring. Simple ingredients, crisp crust, soft crumb, beginner-friendly.
This is an easy homemade bread recipe you can make with basic ingredients and simple techniques. The dough is forgiving and reliable, making it ideal for beginners. It also provides a good surface for practising bread scoring, allowing you to experiment with different patterns while achieving a crisp crust and soft crumb.
If you are interested in how decorative scoring developed over time, you may also enjoy my article on History of Bread Scoring: Medieval Origins to Modern Breads

Recommended Tools
You do not need specialised equipment, but these tools can improve your results:
Bread Lame - A sharp blade allows for clean, controlled scoring, helping the dough expand properly in the oven and creating defined patterns. You can use a new plain razor blade if you’re comfortable handling it or you can use a Saint Germain Bread Lame for Dough Scoring. I recently came across this Magnetic Bread Lame, a professional dough scoring tool with extractable blade which you might like too.
Bread Lame Blades Refill - Fresh, sharp blades ensure precise cuts and reduce dragging, which can distort your design and affect oven spring.
Bench Scraper - A bench scraper makes handling and shaping sticky dough easier, helping you maintain surface tension when forming the loaf. I use this Curved Bowl Scraper when handling bread dough.

Easy Bread Recipe for Scoring
Ingredients
- 500g strong white bread flour
- 10g fine sea salt
- 7g instant dried yeast
- 325g lukewarm water (about 35°C)
- Extra flour for dusting
Instructions
- 1
Prepare the workplace.
- 2
Scale and collect all the ingredients and equipment.
- 3
In a large bowl, combine the flour, salt and yeast.
- 4
Pour in the lukewarm water and mix until a rough dough forms.
- 5
Knead on a lightly floured surface for 8 to 10 minutes until smooth and elastic.
- 6
Shape into a ball and place in a lightly oiled bowl. Cover and leave to rise for about 1 hour, or until doubled in size.
- 7
Punch the air out (fist down once in the middle) and pull the dough in from the sides on itself.
- 8
Turn the dough onto a lightly floured surface. Shape into a ball.
- 9
Place seam-side down on parchment paper or silicone mat. Cover and proof for an hour or until doubled in size.
- 10
Preheat the oven to 220°C with a baking tray. Preheating the tray encourages stronger oven spring and clearer bloom along the scoring.
- 11
Lightly dust the dough with flour. Using a sharp lame or razor blade, score 0.5 to 1cm deep in your chosen design.
- 12
Place a small oven proof plate of hot water at the bottom of the oven to create steam.
- 13
Carefully transfer to pre-heated baking tray. Bake for 25 to 30 minutes until golden brown. Carefully tap the loaf and it should sound hollow. If not, let it bake for another 3 minutes before checking again.
- 14
Cool completely on a wire rack before slicing.
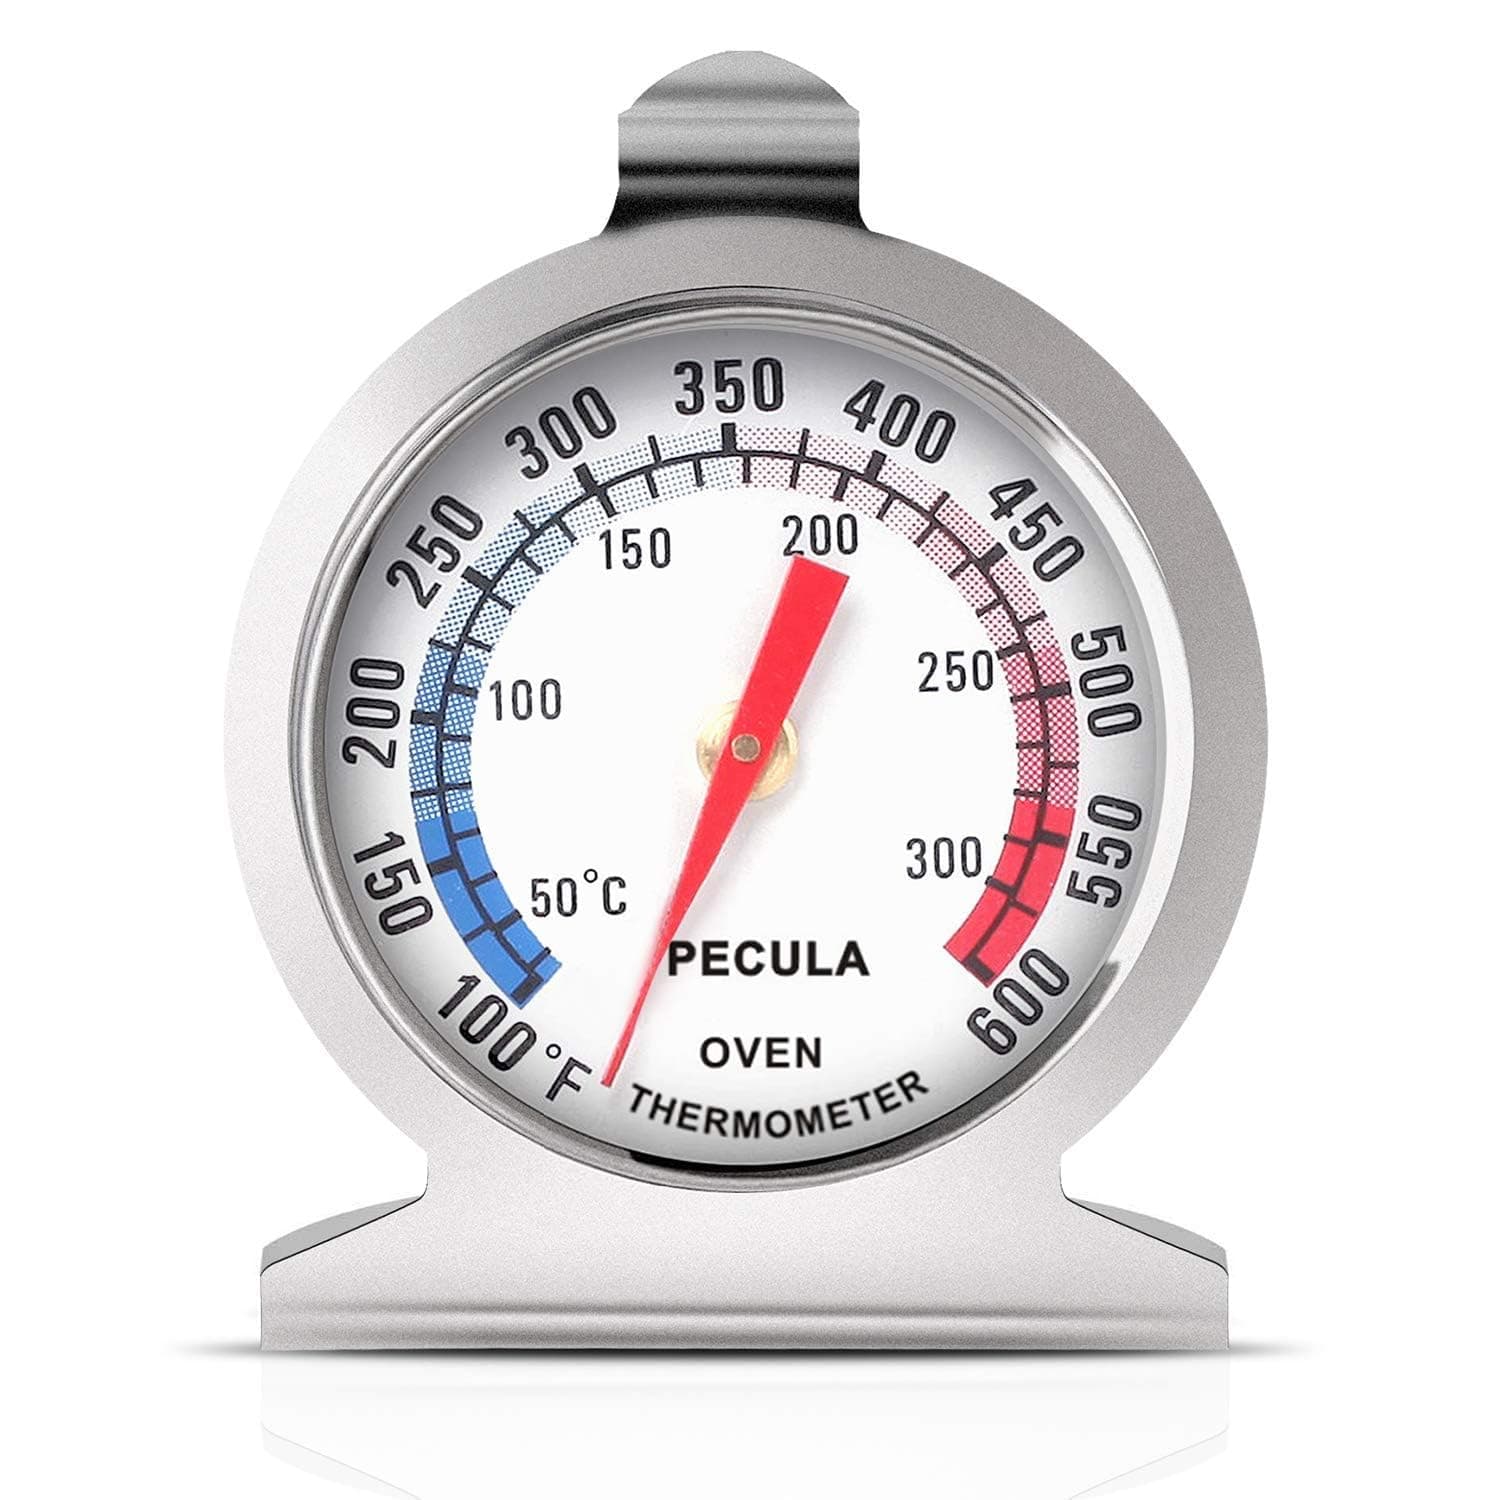
Featured in our shop: Oven Thermometer