

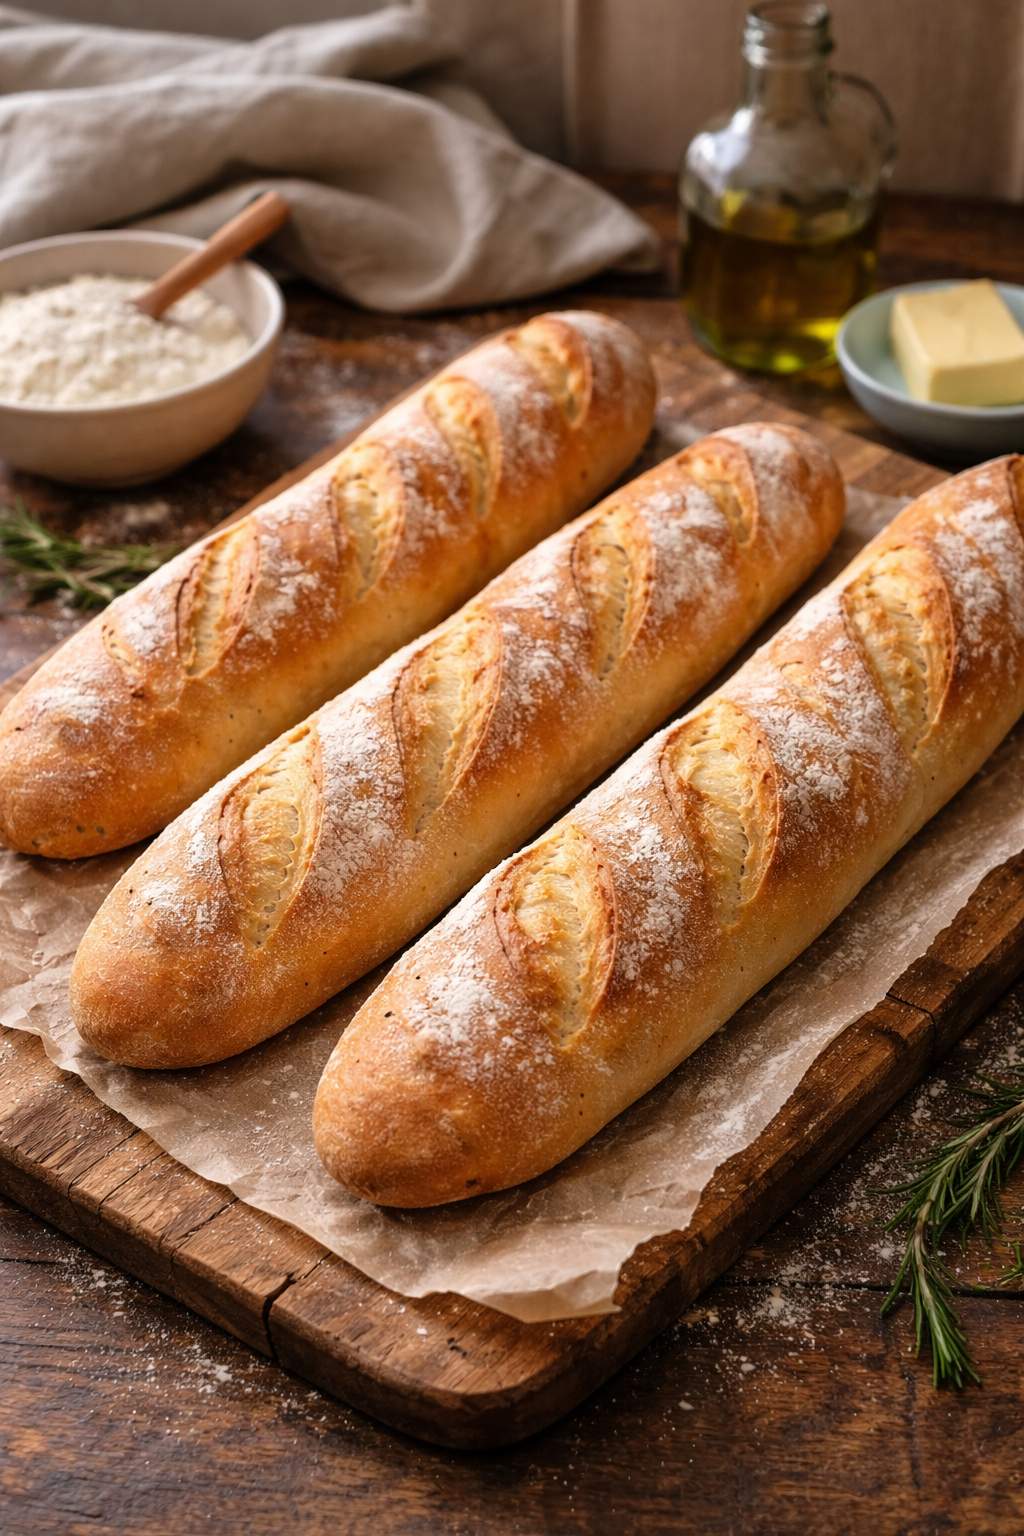
Traditional French Baguettes
Learn how to bake traditional French baguettes at home using a stand mixer and simple steps, inspired by classic baking school techniques.
A crisp golden crust, tender crumb, and that unmistakable crackle as you tear off a piece, still warm. A true French baguette is a joy to bake and eat.
While commercial bakeries often use specialised ovens, this home-baker-friendly recipe recreates that artisanal magic and is surprisingly achievable at home, especially with a stand mixer and a few tried-and-tested steps.
During pastry school, I baked a wide variety of breads, from buttery brioche to rustic sourdough, but baguette days were always special. There’s something calming about handling dough, shaping it by hand, and using a blade to score the dough just before baking. Watching the dough bloom along those cuts in the oven felt like magic every time.
This recipe is adapted from my baking school notes and updated to match how many home bakers now prefer to work: with a stand mixer, a home oven, and no need for stone domes or industrial steam systems.
How to shape dough: Watch the Video
If you’re unfamiliar with baguette shaping, this YouTube video gives a great demonstration of the process. It closely matches the method in this recipe, using a stand mixer, gentle shaping, and a hot bake. I haven’t filmed my own version yet, but I found this one really helpful and easy to follow.
In the video, you’ll see a dome oven being used, but a regular home oven works just fine. To create steam, which helps the crust form beautifully, place a small glass, cup, or oven-safe saucer filled with just-boiled hot water on the base of your oven just before baking. This mimics the steam injection in bakery ovens and gives your baguettes that characteristic crackly crust.
Recommended Tools
You don’t need specialised equipment, but using the right tools can really help. I share below what I used to bake these baguettes at home.
– KitchenAid 7-Quart Bowl-Lift Stand Mixer – I’ve had this stand mixer for more than 10 years and it’s the workhorse of my kitchen. A stand mixer does the kneading and saves you from having sore arms.
– Dough scraper – a very useful tool for handling sticky dough neatly and dividing dough into portions.
– Saint Germain Bakery Large Couche – helps to hold the baguette shape while proofing.
– Baguette Flipping Board – helps to transfer the proofed dough onto your baking tray.
– Saint Germain Bread Lame for Dough Scoring – for clean scoring (you can also use a new plain razor blade if you’re comfortable handling it)
– Digital Food Scale – useful for measuring ingredients and portioning dough. This scale is USB-C rechargeable so you won’t need to buy or replace batteries ever again.
Baking notes: While traditional French baguettes don’t usually include sugar, this recipe is inspired by the baguette viennoise I made in baking school. The small amount of sugar adds a hint of sweetness, encourages browning, and gives the crumb a softer, slightly richer texture, perfect for toast or sandwiches.
The history of the baguette is just as fascinating as the bread itself. Read The Story of the French Baguette here.

Traditional French Baguettes
Ingredients
- 450 g bread flour
- 9 g fine sea salt
- 25 g sugar
- 6 g instant dry yeast (or 9 g fresh yeast)
- 315 g lukewarm water (about 35°C)
- Extra flour for dusting and lining parchment
Instructions
- 1
Prepare the workplace.
- 2
Scale and collect all the ingredients and equipment.
- 3
Mix the dough: In the bowl of a stand mixer, combine flour, salt, sugar, and yeast. Add lukewarm water and knead with the dough hook on low speed for about 4–5 minutes, until the dough comes together. Increase to medium speed and knead for another 3–4 minutes until smooth and slightly sticky but elastic. It shouldn’t cling heavily to your hands, but it will feel moist and soft.
- 4
First proof at room temperature: Cover the bowl loosely with cling film or a clean tea towel and let the dough rest at room temperature (around 21–24°C or 70–75°F) for 1 hour, until it looks slightly expanded and feels a bit lighter. It doesn’t need to double. The long overnight rest in the fridge will continue the fermentation and develop flavour.
- 5
Cold fermentation: Cover the bowl tightly with cling film and refrigerate overnight (8–12 hours). This slow fermentation builds flavour and makes the dough easier to handle.
- 6
Divide and pre-shape: The next day, take the dough out and let it sit at room temperature for 30–45 minutes. Tip it onto a lightly floured surface and divide into 3 equal portions (around 240 g each). Gently shape each into a loose log and let rest for 15 minutes covered.
- 7
Final shaping: Lightly flatten one log into a rectangle. Fold the top third down, the bottom third up, pressing gently to build surface tension. Roll into a log about 30–35 cm long, sealing the seam underneath.
- 8
Place each shaped baguette seam-side down on a well-floured linen tea towel, creating gentle folds between each one to keep them from touching (like a makeshift couche).
- 9
Final proof: Cover lightly with a cloth and let rise for 45–60 minutes, until slightly puffy. The dough should slowly spring back when gently pressed.
- 10
Preheat oven: While the baguettes are proofing, preheat your oven to 230°C (450°F) and boil some water just before the end of proofing. Prepare a small oven-safe glass, ramekin, or saucer of hot just-boiled water and place it inside the oven (on the bottom) to create steam.
- 11
Score and bake: Use a sharp razor or bread lame to make 3–4 diagonal slashes across each baguette. Bake for 18–22 minutes, or until the crust is golden and crisp.
- 12
Cool completely: Transfer to a wire rack and let cool for at least 30 minutes before slicing. This helps the crumb finish setting.
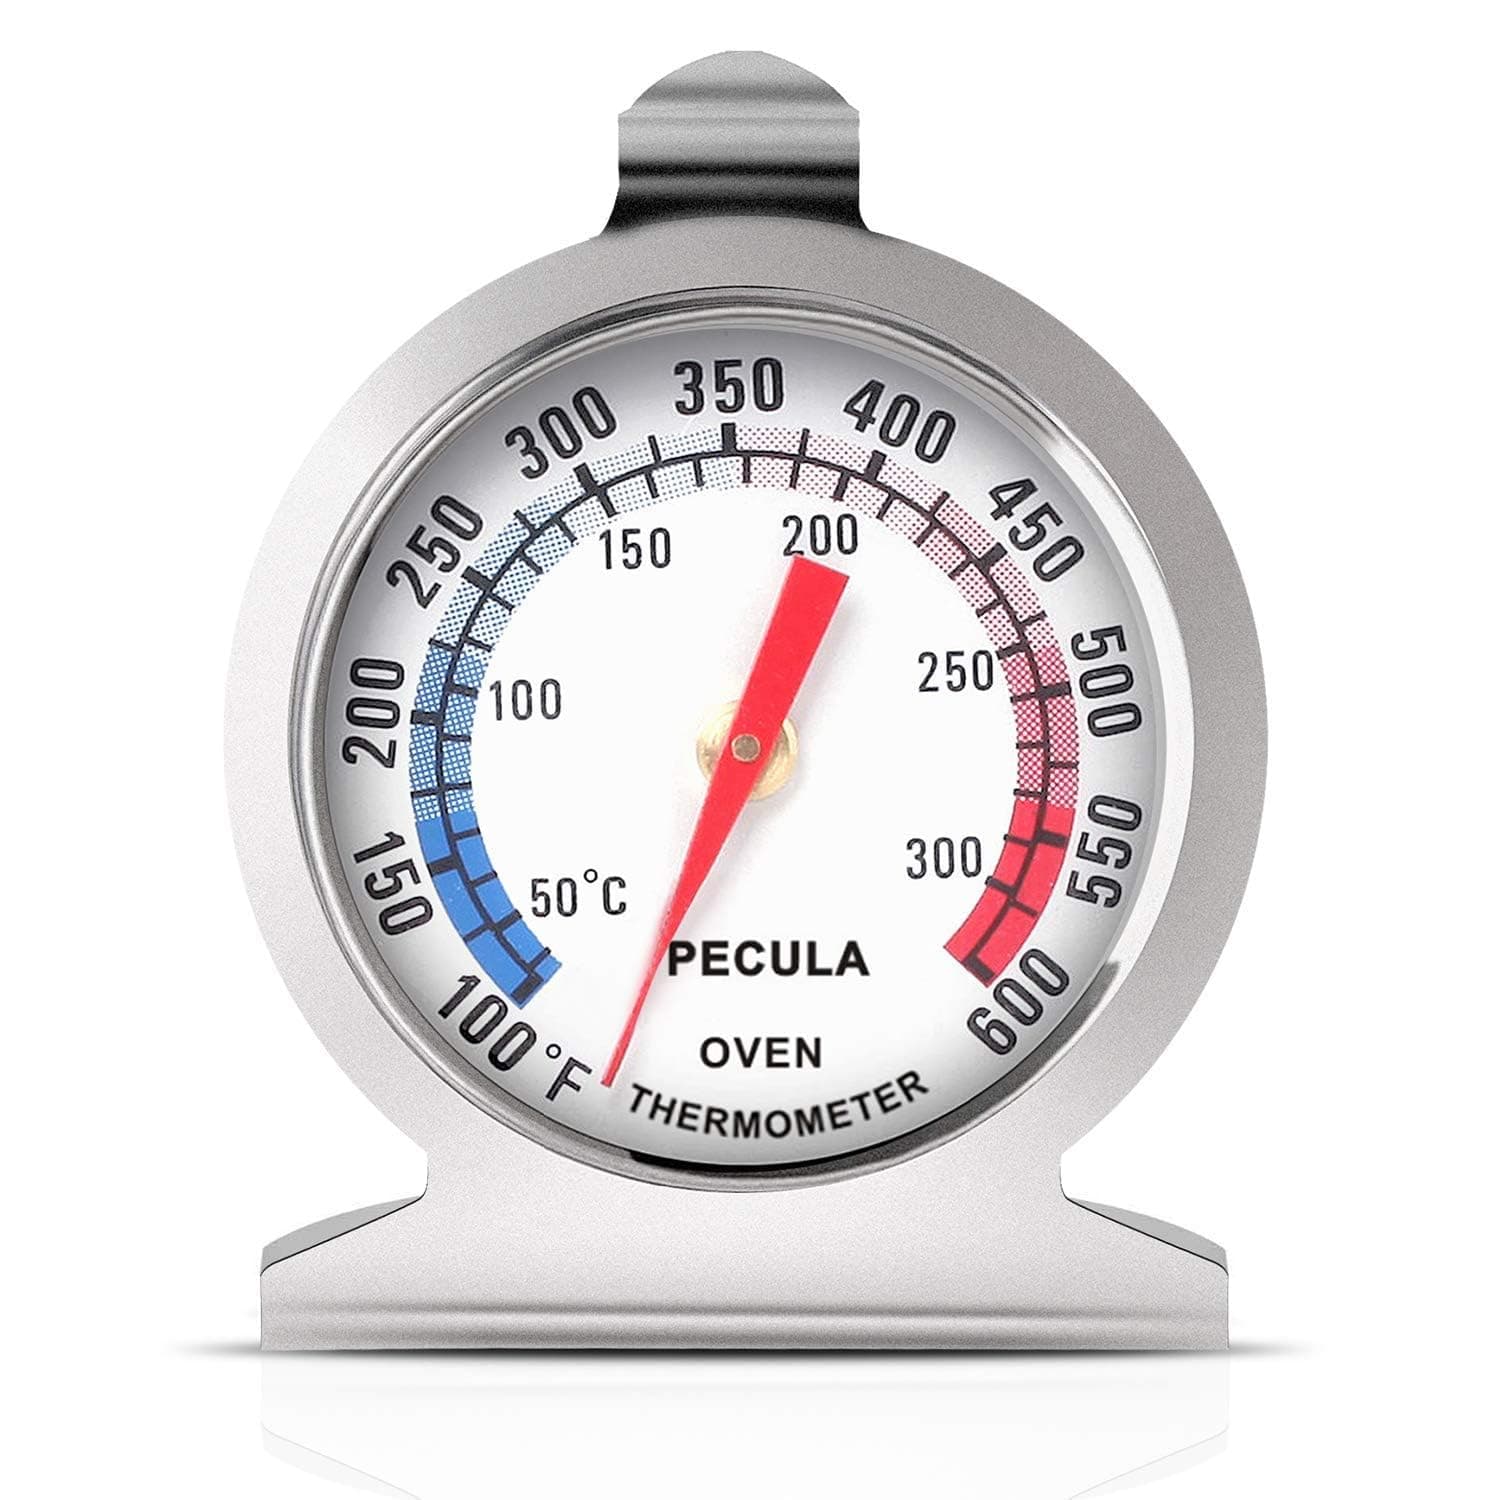
Featured in our shop: Oven Thermometer