

Icebox Cake: The No-Bake Classic That Changed Home Baking

Icebox Cake: The No-Bake Classic That Changed Home Baking

ByWei Ling
May 28, 20263 min
4.6(80)
Prep Time
20 minutes
Cook Time
No-bake (Just chill 6-8 hours or overnight)
Servings
8
Difficulty
easy

Make a classic icebox cake with chocolate wafers and cream. Discover this authentic no-bake dessert from early 20th century American kitchens.

There is something quietly magical about an icebox cake. Made with little more than chocolate wafers and cream, it transforms overnight into a soft, sliceable dessert that feels far more elaborate than its ingredients suggest.

This was one of the earliest desserts designed specifically for the modern kitchen. As refrigeration became more common in American homes during the 1920s and 1930s, recipes like this began appearing in newspapers and on product packaging, offering home cooks a new way to create desserts without turning on the oven.

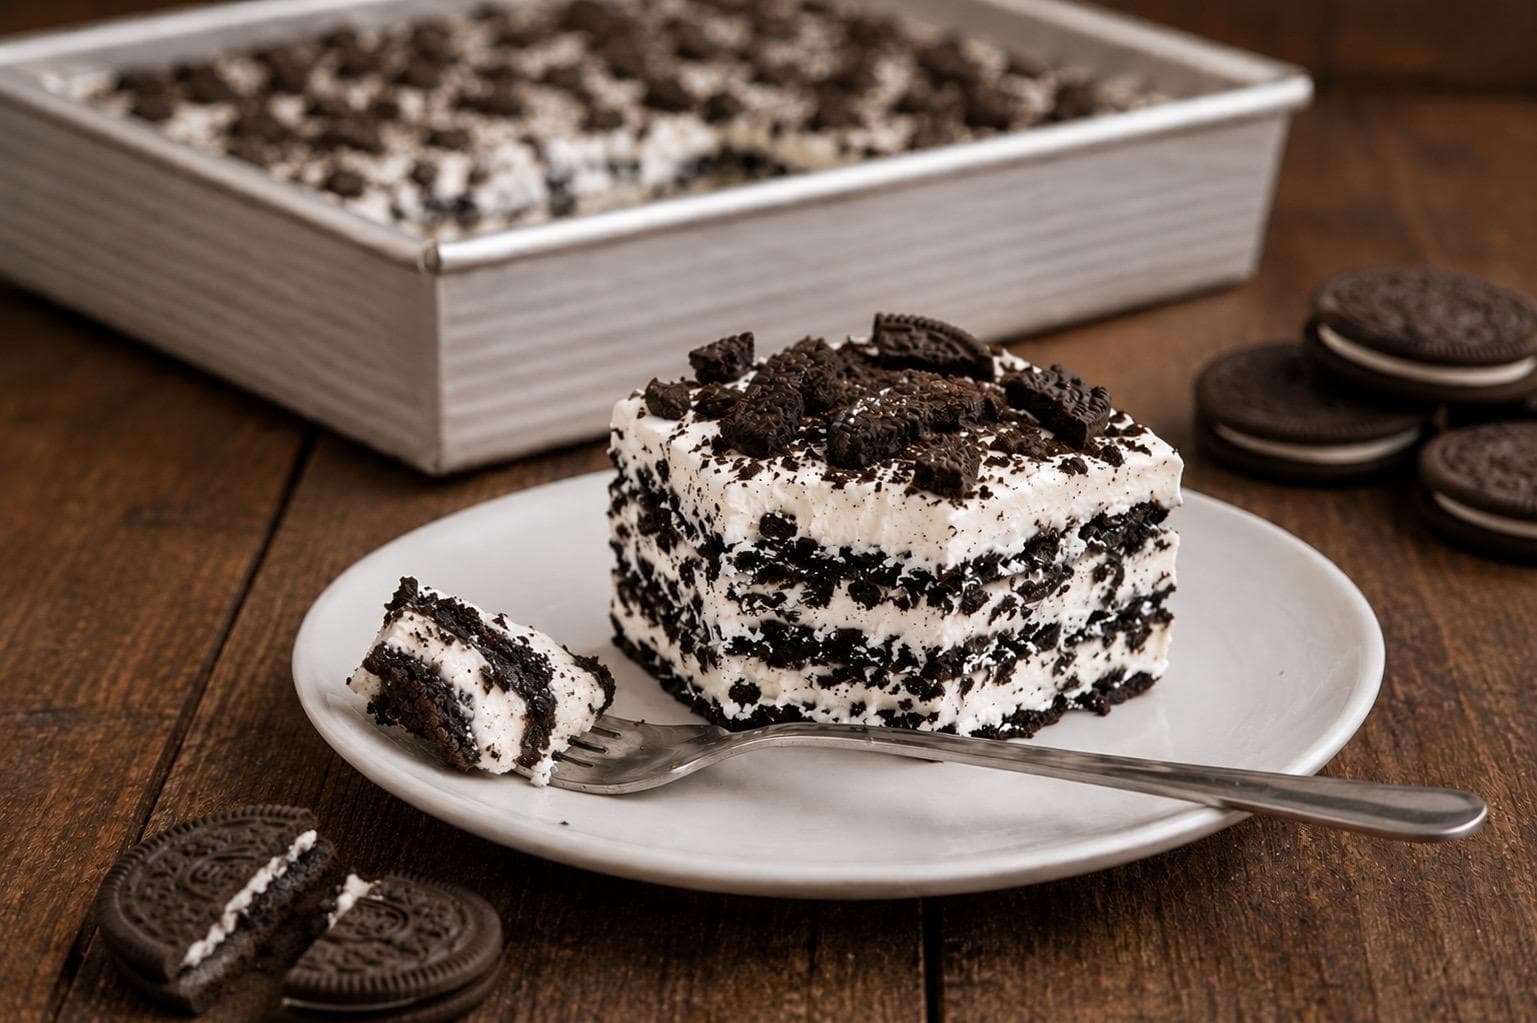
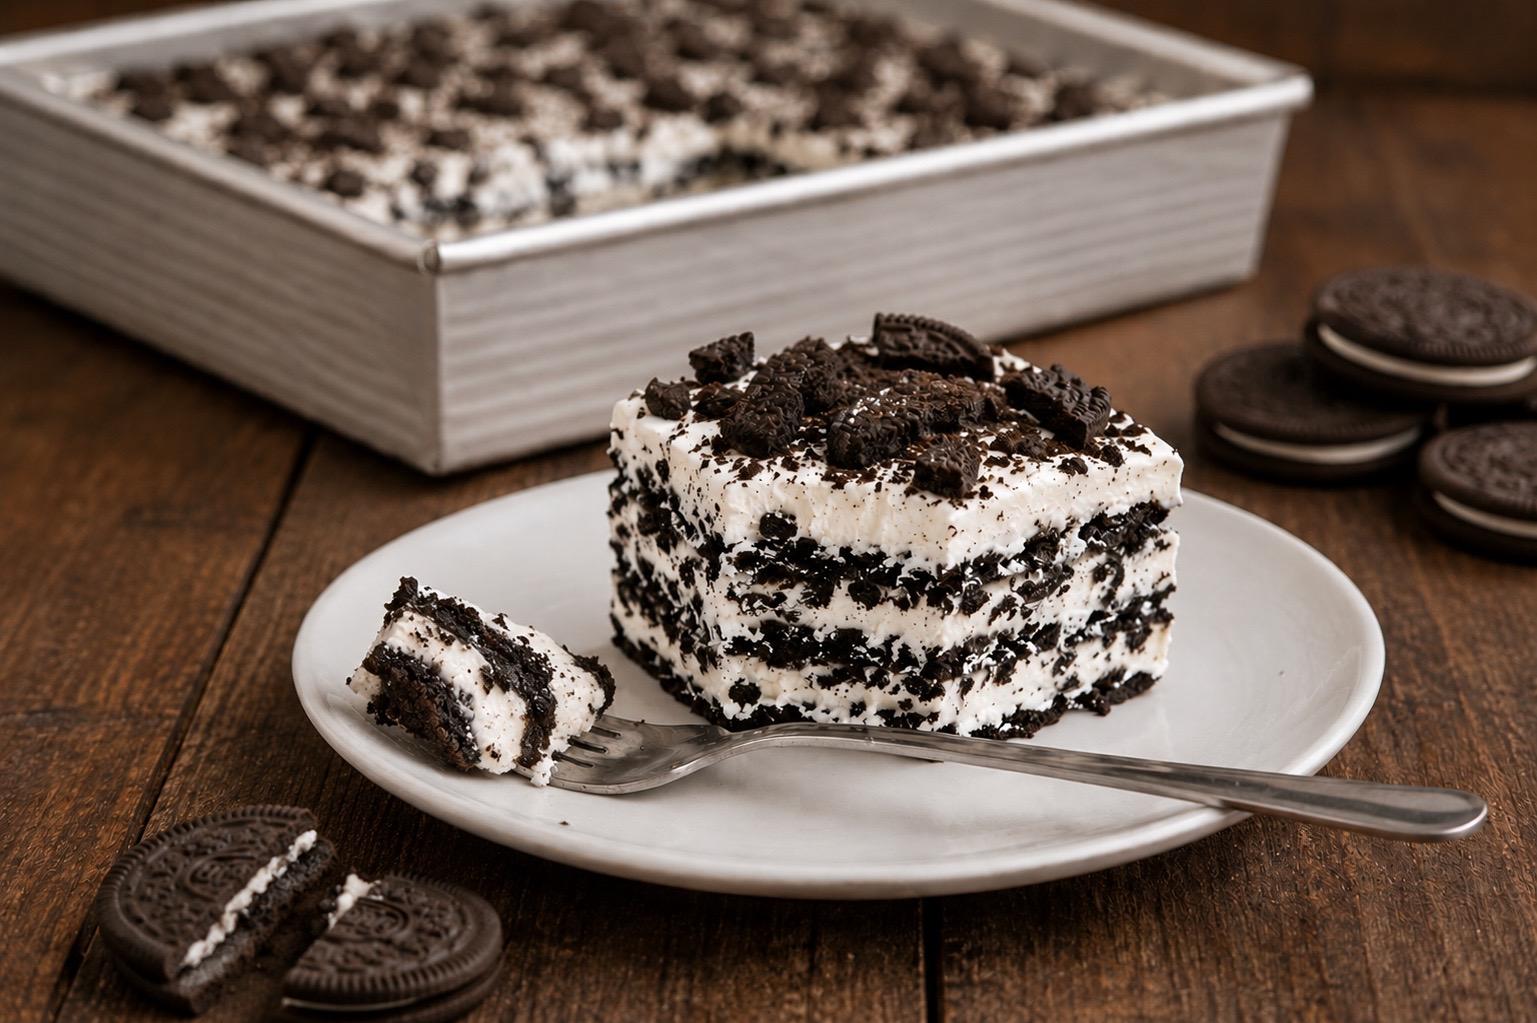
oreo icebox cake slice with layers of whipped cream and chocolate sandwich biscuits on a plate, remaining cake in pan in background
A simple Oreo icebox cake, layered with whipped cream and chilled overnight until soft and sliceable.

Unlike many modern versions, the original icebox cake relied on simple, unsweetened chocolate wafers. As the cake rests in the refrigerator, the wafers absorb moisture from the cream, softening into delicate layers that resemble sponge cake.

Today, as those traditional wafers are harder to find, many home bakers use sandwich biscuits such as Oreos instead. While slightly richer and sweeter, they offer a practical and accessible alternative, allowing this classic dessert to continue in a modern form. Adjusting the sweetness or removing some of the cream filling can bring the flavour closer to the original.

For the full story behind how this no-bake dessert came to life, read our history article on Icebox to Table: The Forgotten Story of No-Bake Desserts.

RECOMMENDED TOOLS & TIPS

A few simple tools make this recipe easier and help achieve clean, even layers.

Use a stand mixer with a whisk attachment to whip the cream to medium peaks; this ensures a light texture that spreads easily without becoming stiff or grainy. I usually use my KitchenAid Stand Mixer although a Hand Mixer works perfectly well for this recipe.

A small Offset Spatula helps you spread the cream evenly over each layer to achieve neat layers.

Choose a rectangular or square pan, such as a Nordic Ware Natural Aluminium Square Cake Pan, to create neat slices and defined layers.

Chilling time is essential. Allow at least 8 hours, preferably overnight, for the wafers to fully soften and develop the cake-like texture.

For a more balanced flavour, you may remove some or all of the cream filling from the Oreos before layering. This reduces sweetness and creates a texture closer to the original wafer-based icebox cake. If you prefer a richer, more indulgent result, the biscuits can be used whole, with the filling intact.

STORAGE & SERVING TIPS

Store the icebox cake covered in the refrigerator for up to 3 days. The texture will continue to soften slightly over time.

For clean slices, use a sharp knife and wipe it between cuts. Serve chilled, straight from the refrigerator.

NOTES

For an authentic version, use plain chocolate wafer biscuits without cream filling. These absorb moisture more evenly and create the classic soft layered texture.

For a modern variation, sandwich cookies such as Oreos can be used, though the result will be sweeter and slightly denser.

Icebox Cake: The No-Bake Classic That Changed Home Baking

Prep: 20 minutes Cook: No-bake (Just chill 6-8 hours or overnight)Serves: 8easy

Ingredients

  • FOR THE CREAM
  • 500ml cold heavy cream
  • 60g icing sugar (reduce to 30g if removing cream from Oreos)
  • 1 tsp vanilla extract
  • Pinch of salt
  • FOR THE LAYERS
  • 250–300g Oreos (350g without cream)
  • OPTIONAL
  • Milk for dipping
  • Crushed Oreos for topping
  • Fresh berries for serving

Instructions

  1. 1

    Prepare the workstation.

  2. 2

    Gather all the tools and ingredients.

  3. 3

    Using a stand mixer or hand mixer, whip the cold heavy cream, icing sugar, vanilla extract, and a pinch of salt until medium peaks form. The cream should hold its shape while remaining smooth and spreadable.

  4. 4

    Line a loaf tin or rectangular dish with parchment paper, leaving some overhang for easy removal.

  5. 5

    Spread a thin layer of whipped cream at the base.

  6. 6

    If desired, briefly dip each Oreo in milk for 1–2 seconds to help soften the biscuits evenly. Do not soak, as they can become too soft.

  7. 7

    Arrange a single layer of Oreos over the cream, breaking them as needed to fit snugly.

  8. 8

    Spread another layer of whipped cream over the Oreos, ensuring full coverage.

  9. 9

    Repeat layering Oreos and cream until all ingredients are used, finishing with a layer of cream on top.

  10. 10

    Smooth the top with a spatula and sprinkle crushed Oreos over the surface if desired.

  11. 11

    Cover and refrigerate for at least 6–8 hours, preferably overnight, to allow the biscuits to soften fully and form cake-like layers.

  12. 12

    Once set, lift the cake out using the parchment overhang and transfer to a serving plate.

  13. 13

    Slice with a sharp knife and serve chilled.
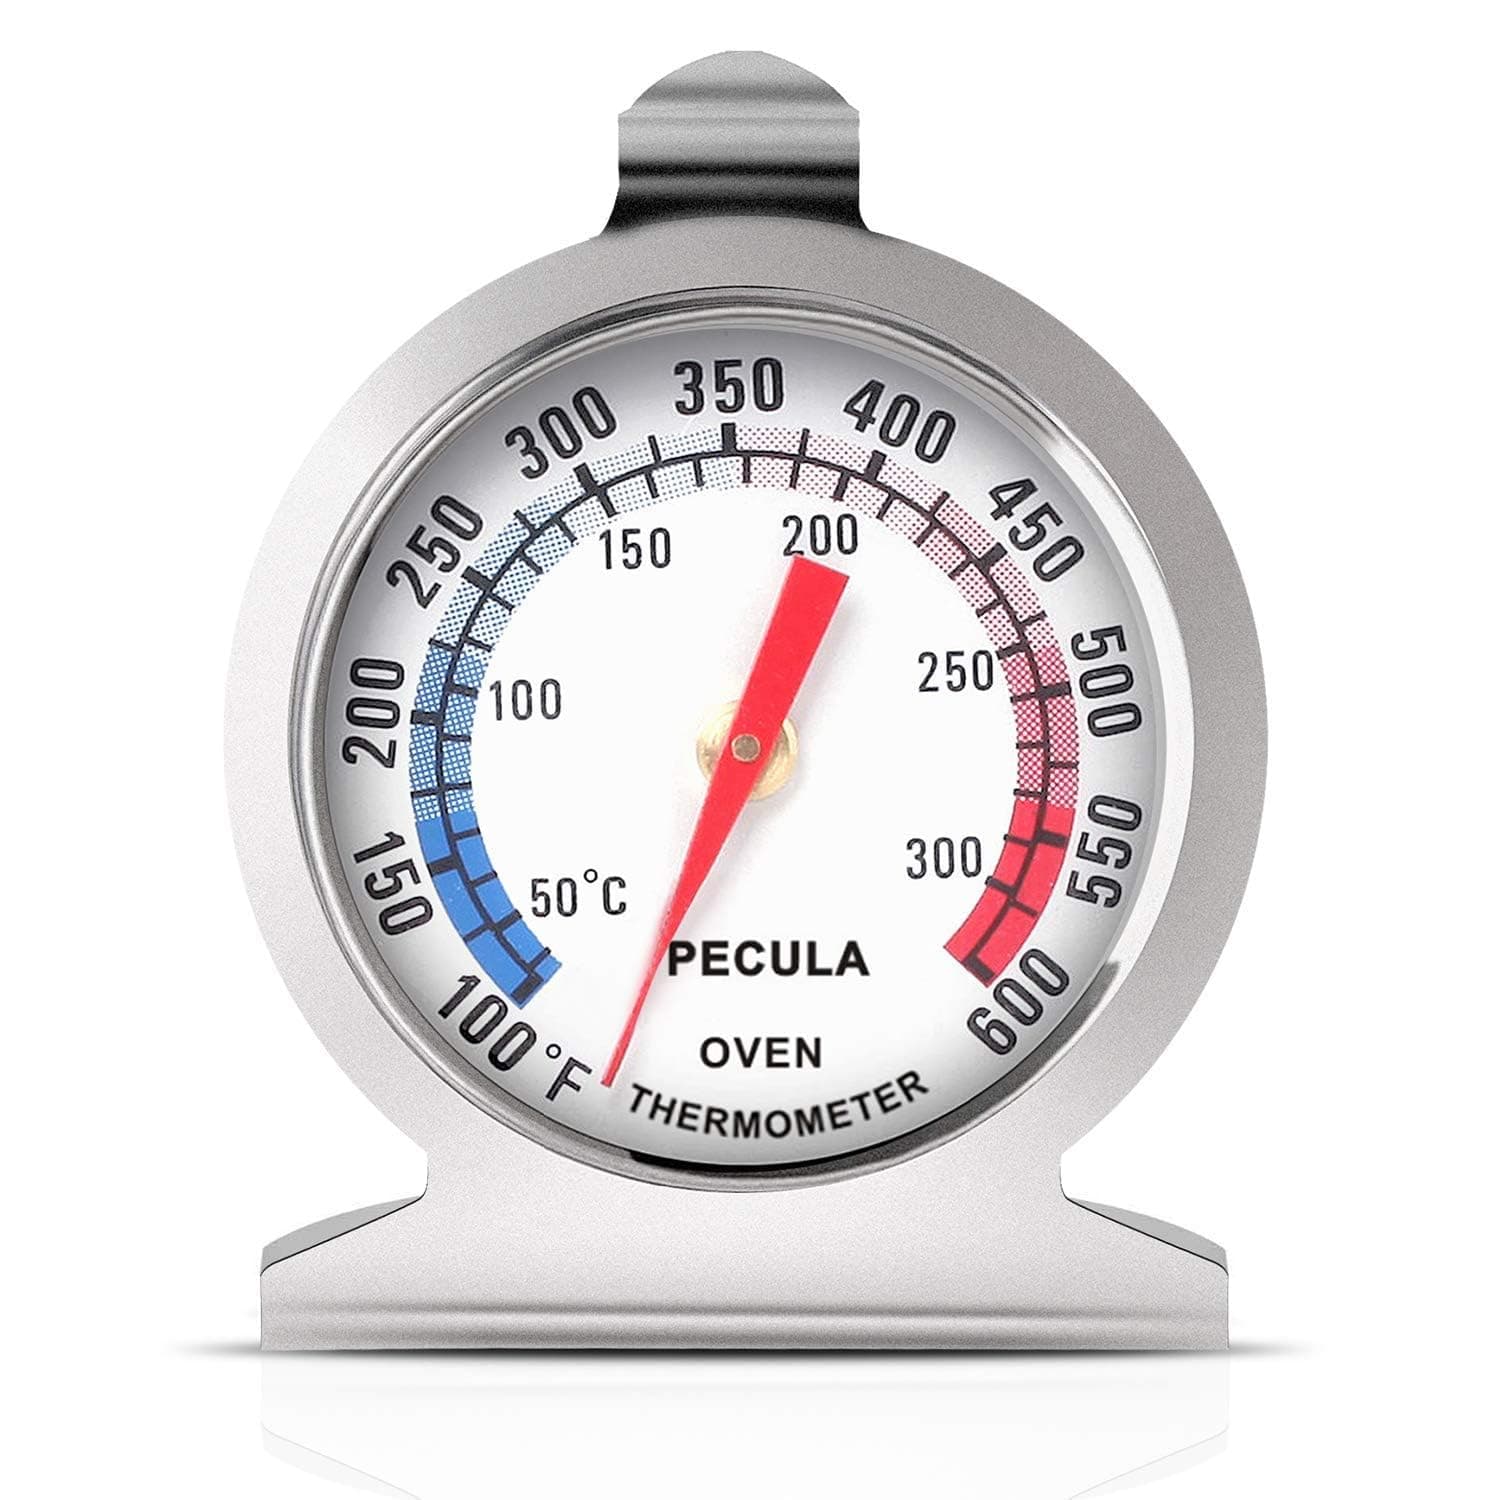
Oven Thermometer

Featured in our shop: Oven Thermometer

Shop Now