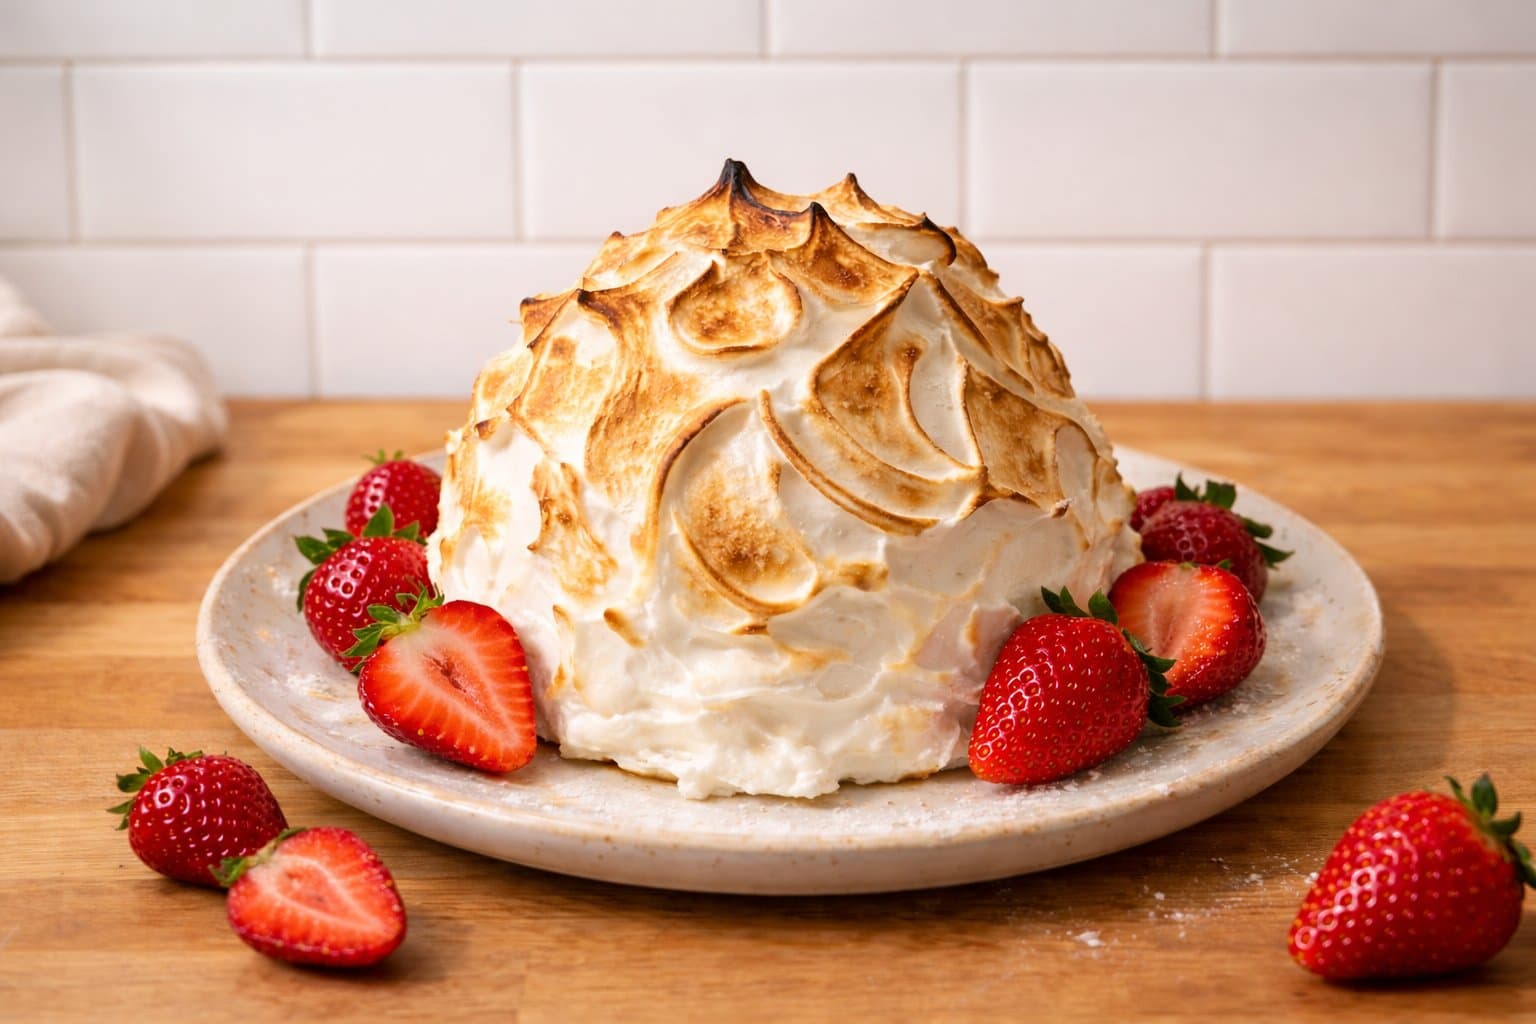
Make a classic Baked Alaska with sponge cake, ice cream, and toasted meringue. A dramatic fire-and-ice dessert perfect for dinner parties.
Baked Alaska is one of the most dramatic desserts you can serve at home. With toasted meringue surrounding frozen ice cream on a base of sponge cake, it combines warm and cold in a way that feels almost magical.
I first thought about making Baked Alaska while planning a small dinner party. I had eaten it once in a restaurant in Singapore, and I still remember how the wait staff dramatically set it on fire while serving it. It was both theatrical and delicious. After learning about The Origins of Baked Alaska, I knew I wanted to try making it at home.
The good news is that Baked Alaska is easier than it looks. The secret lies in the insulating properties of meringue, which protects the ice cream while the outside browns quickly in a hot oven or with a kitchen torch.
This version keeps things simple with vanilla ice cream and sponge cake, but you can easily experiment with other flavours once you understand the technique.
Recommended Tools
A few simple kitchen tools can make preparing Baked Alaska much easier, especially when shaping the ice cream and spreading the meringue neatly over the dessert.
An Ice Cream Scoop makes it easier to portion and shape the ice cream neatly into a dome before freezing. A sturdy scoop is especially helpful when working with firm ice cream straight from the freezer.
This Mixing Bowls with Lids Set is useful for preparing the meringue and assembling the dessert. Medium or large bowls give you enough space to whip the egg whites properly. And the lids come in useful when you need to store the ice cream or meringue in the fridge until you’re ready to use them. This is a good long term investment since you will not need to use clingfilm.
I used a Philips Hand Mixer to whip the egg whites quickly until the meringue becomes thick, glossy, and holds firm peaks. This makes the process much faster and more consistent than whisking by hand.
An Offset Spatula is one of the easiest ways to spread the meringue evenly over the ice cream and sponge cake. The angled blade allows you to smooth the meringue neatly without disturbing the layers.
A Baking Tray lined with parchment paper provides a stable surface for assembling and browning the Baked Alaska. It also makes it easier to transfer the dessert in and out of the oven without disturbing the meringue.
Using Unbleached Parchment Paper on your baking tray helps prevent the sponge cake from sticking to the tray and makes it easier to lift or move the assembled dessert.
A piping bag fitted with an Open Star Tip can be used to pipe decorative peaks of meringue instead of spreading it. The ridges brown beautifully when toasted, which gives the Baked Alaska a more dramatic finish.
A Kitchen Torch is optional but it does allow you to brown the meringue with more control and create an evenly toasted finish. It is especially useful for touching up the colour of the meringue just before serving.
Storage and Serving Tips
Baked Alaska is best served immediately after browning the meringue.
If you need to prepare it ahead of time, assemble the sponge cake and ice cream and freeze until firm before covering with meringue. Once the meringue is added and browned, the dessert should be served right away so the ice cream remains frozen.
For extra theatre, some versions of Baked Alaska are flambéed with a splash of rum or liqueur before serving.
Tips for Success
Make sure the ice cream dome is very firm before assembling the dessert.
Cover the ice cream completely with meringue to prevent melting.
Work quickly when spreading the meringue so the ice cream stays frozen.
For a more decorative finish, pipe the meringue with a piping bag and large open star tip before browning.
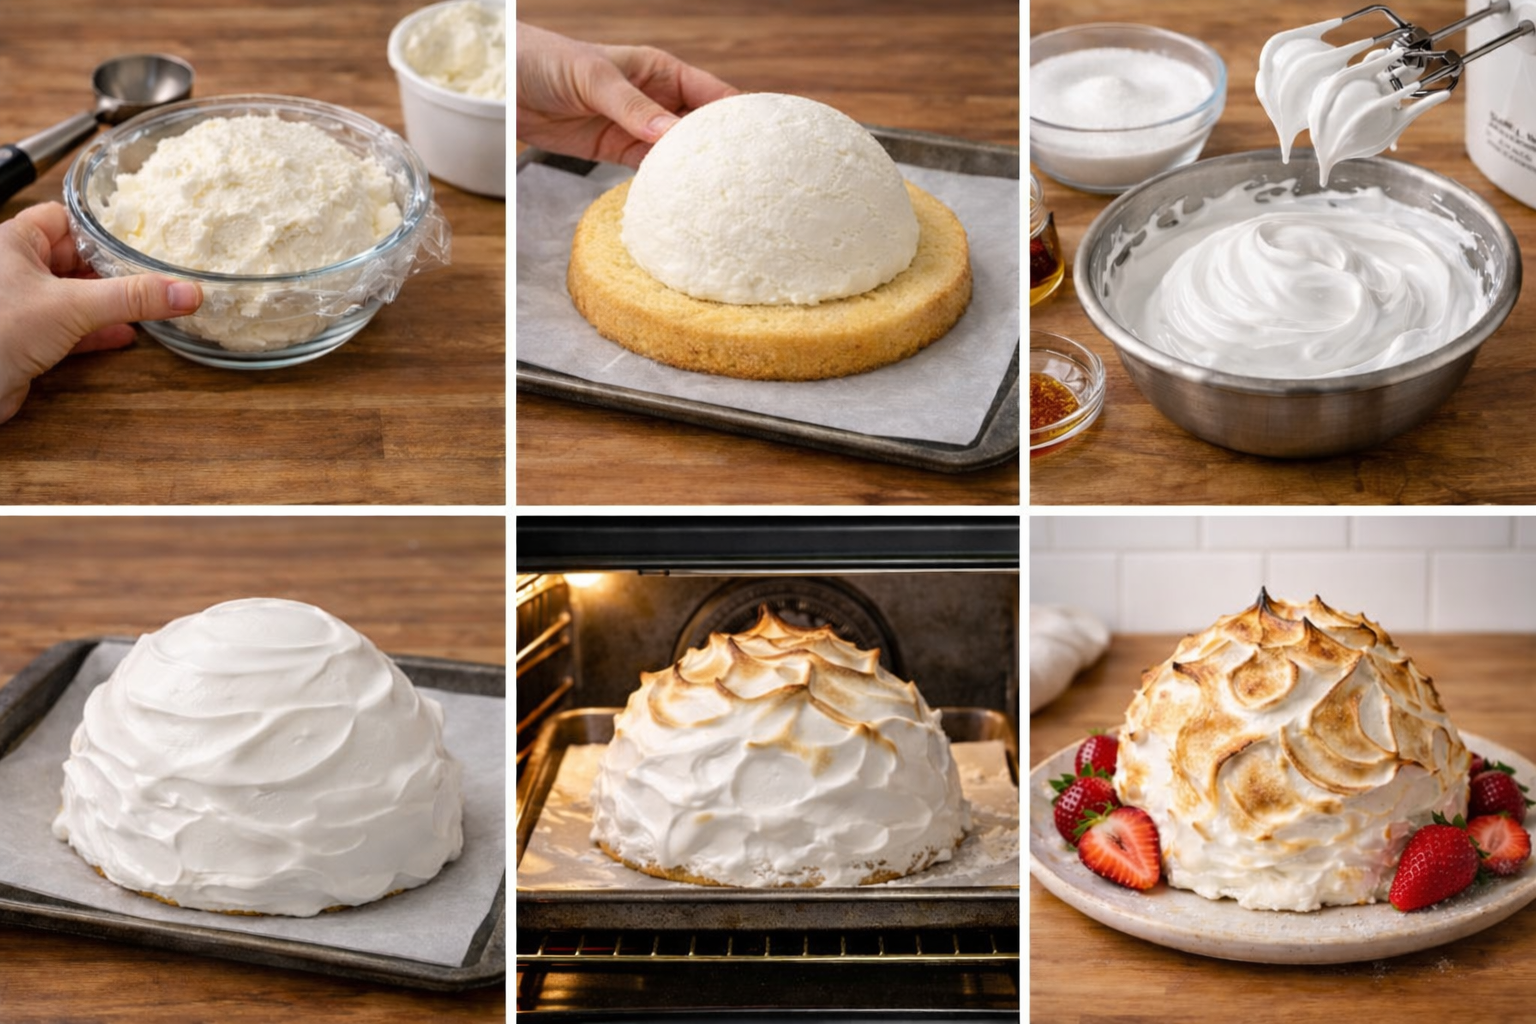
Step-by-step process showing how Baked Alaska is assembled, covered with meringue, and browned before serving.
Prepare the Ice Cream Layer: Line a bowl (about 18cm diameter) with cling film and pack the ice cream firmly into it to form a dome shape. Fill to the brim and flatten it and cover with cling film. Freeze for at least 2 hours until very firm.
4
Prepare the Meringue: In a clean mixing bowl, beat the egg whites and cream of tartar until soft peaks form. Gradually add the sugar while continuing to beat until the meringue becomes thick and glossy. Mix in the vanilla extract. Set aside.
5
Prepare the Cake Base: Place the sponge cake on a baking tray lined with parchment paper.
6
Assemble the Dessert: Remove the ice cream dome from the freezer and invert it onto the centre of the sponge cake.
7
Cover the Ice Cream: Spread the meringue over the ice cream and cake using an offset spatula, making sure there are no gaps. The meringue should completely seal the ice cream.
8
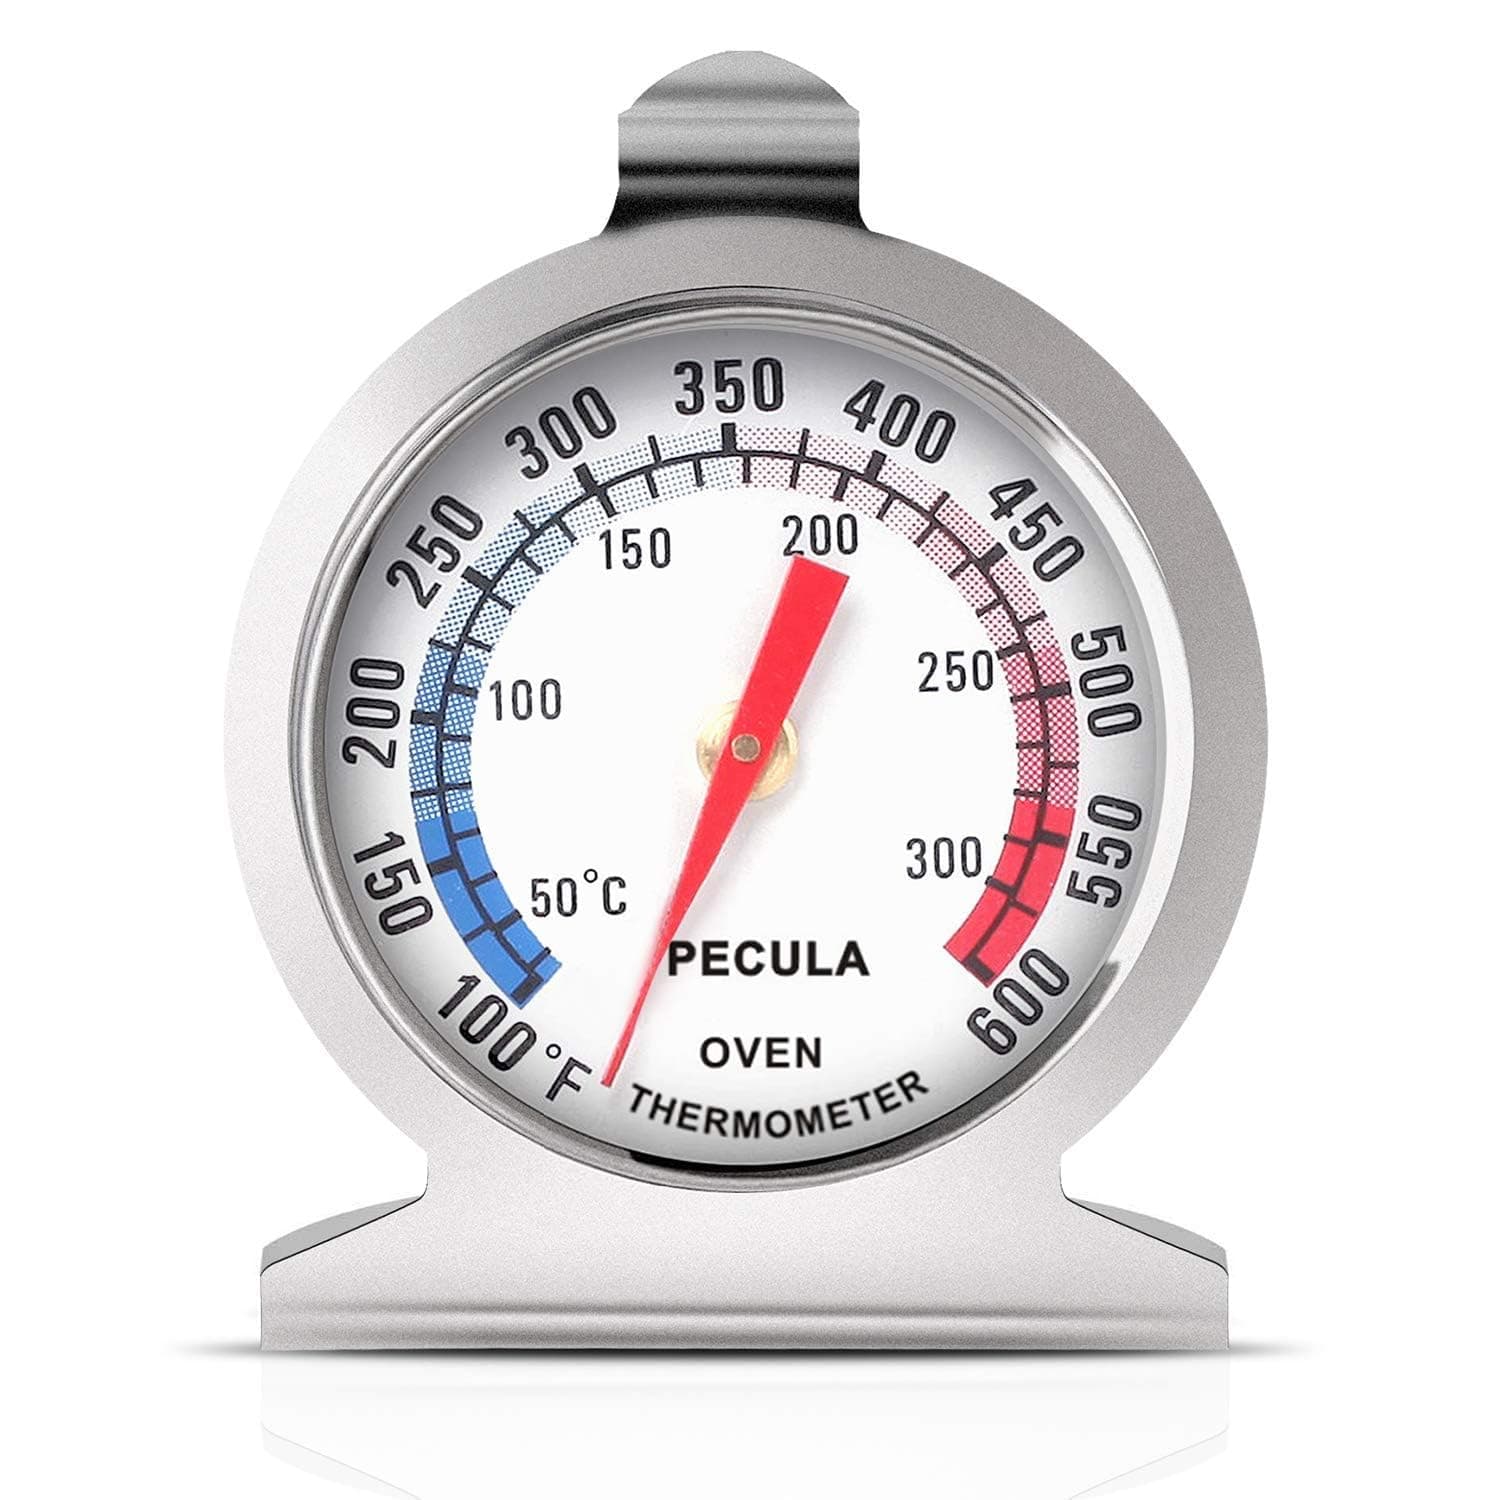
Brown the Meringue: Bake in a very hot oven at 220°C for 3–5 minutes until the meringue is lightly browned. Alternatively, use a kitchen torch to toast the meringue evenly.
9
Serve Immediately: Slice and serve straight away while the meringue is warm and the ice cream remains frozen.
10
If flambéing, warm a small amount of rum or brandy, pouring it over the meringue, and ignite it carefully, keeping the flame away from flammable materials and loose clothing.