

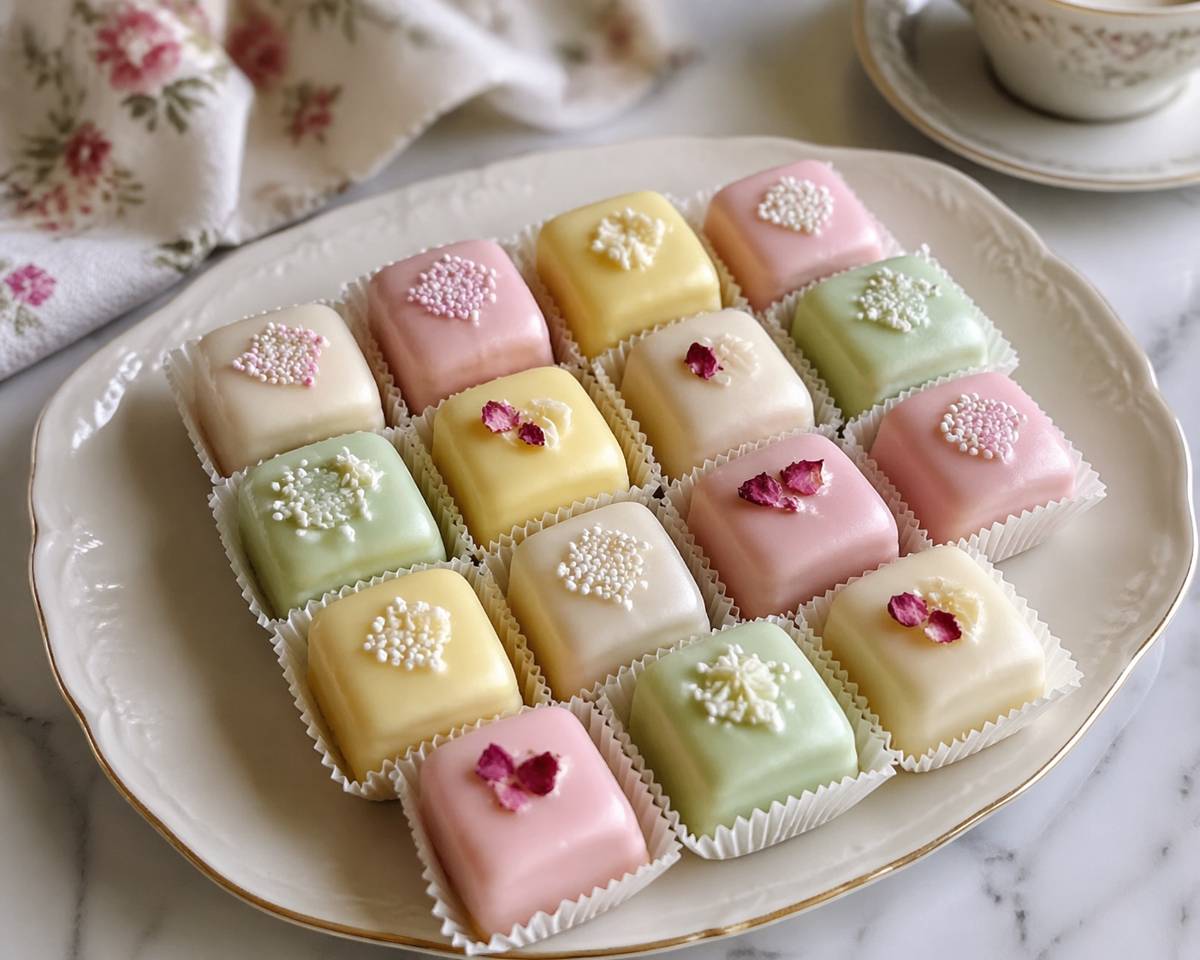
Classic Petit Fours Glacés Recipe (French Mini Cakes)
Learn how to make classic petit fours glacés at home — elegant French mini cakes with sponge layers, jam filling, and a smooth fondant glaze.
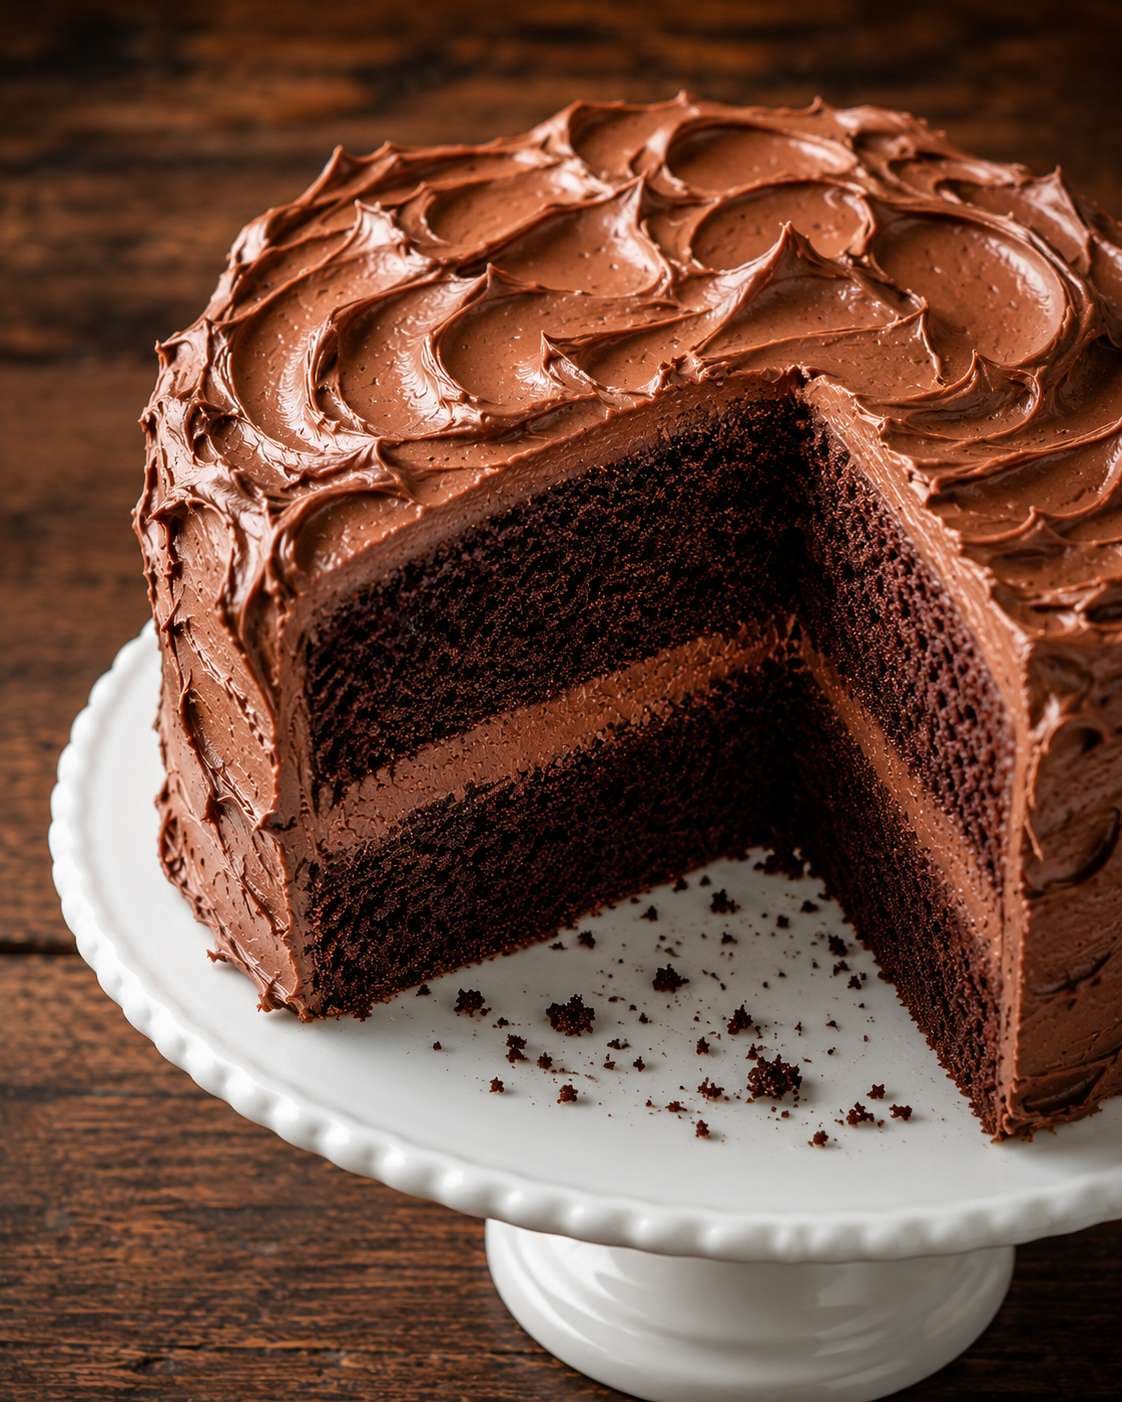
Petit fours may look like something reserved for hotel patisseries, but at their core, they are simply small sponge cakes layered, cut, and glazed. Their refined appearance reflects a long tradition of serving delicate, bite-sized sweets at the end of a meal — an idea that traces back to French culinary customs.
If you’re curious about how these miniature cakes evolved into a symbol of elegance, you can explore the full story in our article on The History and Origins of Petit Fours.
Once you understand the structure — a light sponge, a thin layer of filling, and a fluid glaze — you can recreate them at home with surprising ease. The key is patience in cutting neat squares and working with a pourable icing that sets smoothly.
RECOMMENDED TOOLS & TIPS
Working with petit fours is less about complexity and more about control. A few well-chosen tools — and a steady approach — will make the process far more manageable.
A sharp Serrated Knife helps you trim and portion the sponge cleanly without compressing it. Use a gentle sawing motion rather than pressing down to keep the edges neat.
A Stainless Steel Ruler ensures uniform squares, which gives that polished “petit four” look. For best results, measure lightly before cutting rather than trimming after.
An Offset Spatula is useful for spreading thin, even layers of jam or buttercream. Keep the layer minimal as too much will cause the cakes to shift when cut or glazed.
A Stainless Steel Wire Rack set over a tray allows excess glaze to drip away neatly. Place the rack on a parchment-lined tray for easy clean-up and to catch usable glaze.
A Digital Thermometer is helpful if you want precision when warming fondant, but gentle hand control works too — keep it just warm enough to flow. If it becomes too hot, it will lose its shine and become too thin.
Chill the cut sponge squares briefly before glazing. A slightly firm surface makes it much easier to pour icing cleanly without crumbs breaking loose.
Pour the glaze in a single, confident motion rather than spreading it. This creates a naturally smooth surface and avoids visible marks.
Keep a small palette knife or skewer nearby to guide glaze gently over edges if needed, but avoid overworking it once it starts to set.
If the glaze thickens while working, warm it gently over a bain-marie rather than microwaving, which can heat unevenly.
Work in small batches when glazing. This prevents the icing from cooling too quickly and gives you better control over each piece.
Allow the glaze to settle briefly before decorating. Add simple decorations while the surface is still wet so they adhere, but avoid overworking or adding heavy piping at this stage, as colours may bleed into the glaze.
STORAGE & SERVING
Petit fours keep well in an airtight container in the refrigerator for up to 3 days. Bring them to room temperature before serving so the sponge softens and the glaze loses its chill. They are traditionally served with tea or coffee as a delicate finish to a meal.

Classic Petit Fours Glacés Recipe (French Mini Cakes)
Ingredients
- FOR THE SPONGE CAKE:
- 4 large eggs (room temperature)
- 120g caster sugar
- 1 tsp vanilla extract
- 120g plain flour, sifted
- 30g unsalted butter, melted and cooled
- FOR THE FILLING:
- 100g apricot or raspberry jam (smooth)
- Warm the jam slightly and strain if needed to remove lumps.
- FOR THE FONDANT GLAZE:
- 500g ready-made fondant icing (block or pourable fondant)
- 2–4 tbsp water
- Gel food colouring (pink, pale yellow, mint green, or white)
Instructions
- 1
Prepare the workstation.
- 2
Gather all tools and ingredients.
- 3
FOR THE SPONGE CAKE:
- 4
Beat the eggs and sugar using a stand or hand mixer until pale, thick, and tripled in volume.
- 5
Add vanilla and mix briefly.
- 6
Fold in the sifted flour gently in batches using a spatula.
- 7
Fold in the melted butter carefully without deflating the batter.
- 8
Pour into a lined rectangular tray (about 20 × 30 cm).
- 9
Bake at 180°C for 18–20 minutes until lightly golden and springy.
- 10
Cool completely on a rack.
- 11
PREPARE THE FONDANT GLAZE:
- 12
Warm the fondant gently over a bain-marie or in short bursts in the microwave until it reaches about 35–38°C, just warm enough to flow smoothly while retaining a light sheen. Stir in small amounts of water as needed until it reaches a thick but pourable consistency.
- 13
Divide and tint with colours as desired.
- 14
ASSEMBLY:
- 15
Trim the sponge to remove edges and create clean, straight sides.
- 16
Slice horizontally into two even layers.
- 17
Spread a thin, even layer of jam over one layer.
- 18
Place the second layer on top and press gently.
- 19
Chill the layered cake for at least 1 hour until firm.
- 20
Cut into small, even squares (about 3–4 cm each).
- 21
Place the squares on a wire rack set over a tray.
- 22
Pour or spoon the fondant glaze over each piece, allowing it to flow down the sides.
- 23
Let excess glaze drip off naturally and avoid overworking the surface.
- 24
While the glaze is still wet, add simple decorations such as sprinkles or dried petals so they adhere cleanly.
- 25
Leave to set at room temperature until the glaze firms up. Once fully set, additional piping or fine details can be added if desired.
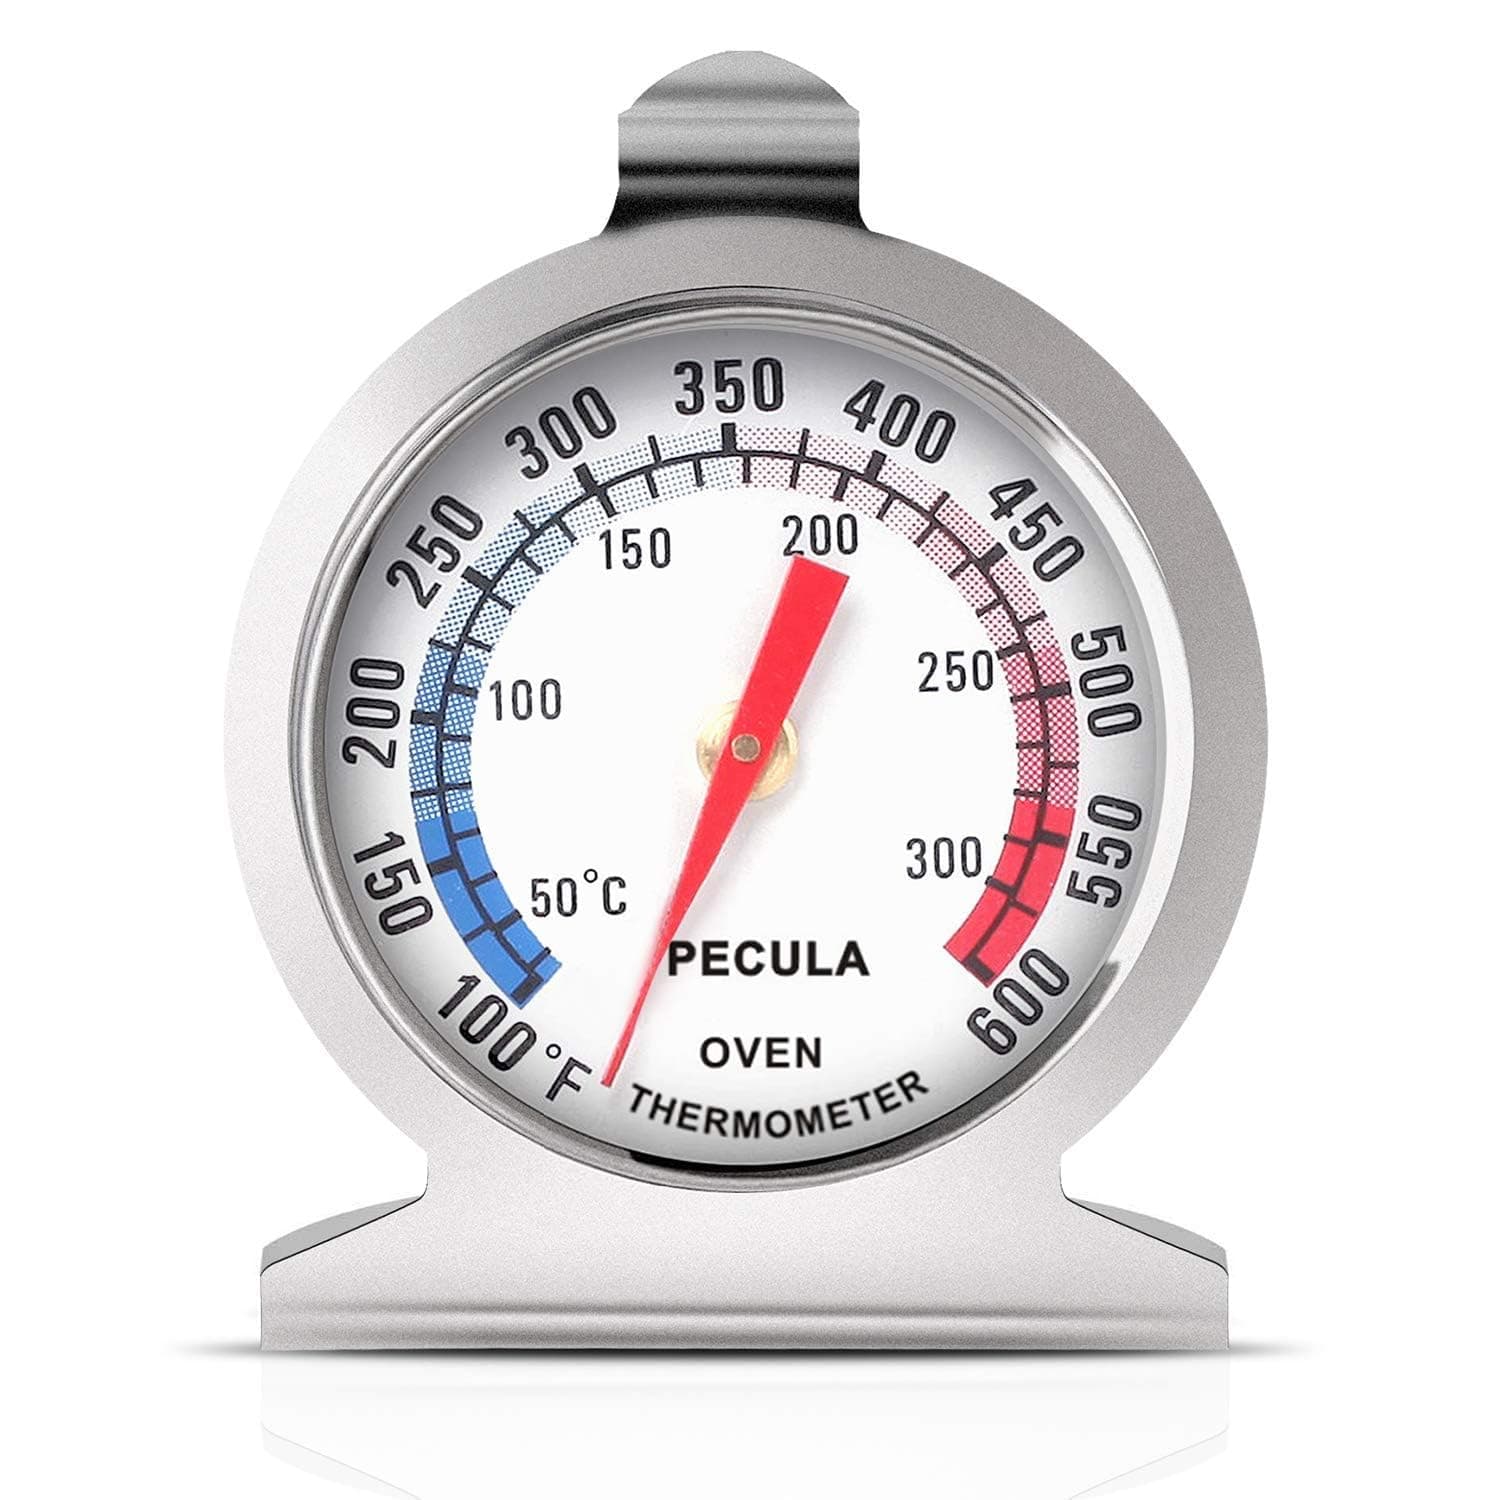
Featured in our shop: Oven Thermometer