
How to Make a Sourdough Starter (Beginner Guide)
Learn how to make a sourdough starter at home using flour and water. A beginner-friendly guide with feeding, storage and care tips.
There is something quietly remarkable about creating your own sourdough starter.
With nothing more than flour and water, you activate a natural fermentation process driven by wild yeast and beneficial bacteria. These microorganisms are already present on the surface of grain and in the air around us. When flour is mixed with water, they begin feeding on natural sugars, multiplying and producing carbon dioxide — the gas that eventually leavens bread.
Long before commercial yeast was developed, this was how all bread rose. Across ancient civilisations, from Egypt to Rome and throughout medieval Europe, bakers relied entirely on naturally occurring fermentation.
If you would like to explore how sourdough shaped early societies and travelled across continents, you may enjoy my in-depth article on The History and Origins of Sourdough Bread, as well as my broader exploration of The History of Bread, where I trace how this simple mixture of flour and water influenced civilisations for thousands of years.
If you are new to sourdough, do not feel intimidated. A starter is simply flour and water given time to ferment. With patience and a steady routine, you can nurture a healthy, active starter in your own kitchen.

Equipment
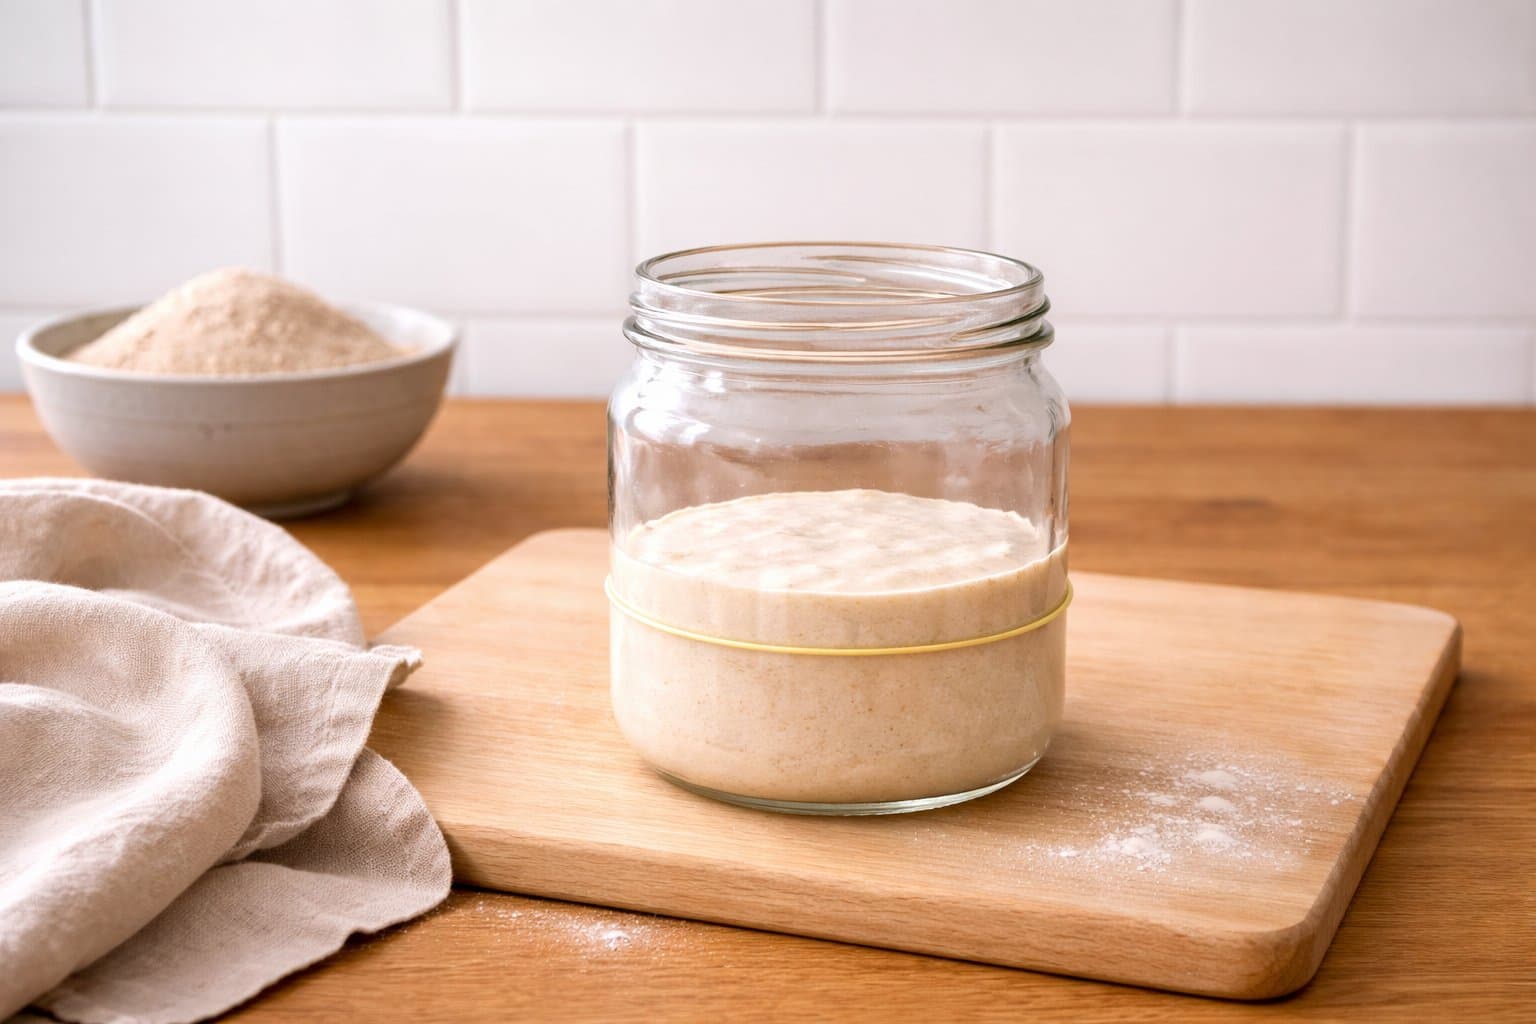
Use a 1 litre (32 oz) wide-mouth straight-sided glass jar. A wider jar is more practical than the tall, narrow starter jars often sold in kits, as it is easier to stir and gives your starter room to double or even triple in size. If you do not already have one at home, a simple Wide Mouth Ball Quart (32oz) Glass Jar works very well.
Choose a jar with a standard screw-top lid. During the first week, place the lid loosely on top so gases can escape. Once storing the starter in the refrigerator, you may close the lid fully.
You will also need:
Digital food scale (such as the Etekcity Digital Food Scale)
Silicone Jar Spatula for stirring and scraping down the sides
Rubber band (optional, to mark the starting level and track rise)
And if you prefer to have a kit, this Sourdough Starter Kit is one of the better ones I found on Amazon. This kit comes with a wide mouth potbelly crock glass jar which has a curved bottom, making it easy to stir and scrape when you’re feeding the starter. It also comes with useful items you need, including a thermometer, feeding band, wood spatula, cloth cover and bamboo lid.
Fermentation
In cooler kitchens, fermentation may take longer. Ideally, a sourdough starter develops best at around 21–24°C.
If your home temperature is lower, especially during colder months, your starter may rise more slowly and show fewer bubbles at first.
Try placing the jar in a slightly warmer spot, such as near (but not directly on) a radiator, inside an unheated oven with the light switched on, or in a cupboard away from drafts. Even a small increase in warmth can noticeably improve activity.
Storing Your Starter
Once mature, you may keep your starter at room temperature if baking frequently, feeding daily.
For most home bakers, refrigeration is more practical. Store in the fridge and feed once weekly. Remove 12–24 hours before baking, discard half, feed, and allow it to double before using.
Troubleshooting
If you see green, black or pink mould, discard and start again.
If grey liquid forms on top, simply stir it in or discard before feeding.
If the starter seems sluggish, try using wholemeal flour, keeping it warmer, or feeding twice daily.
Creating your own sourdough starter connects you directly to centuries of baking tradition. With just flour, water and patience, you can cultivate a living culture that will leaven bread for years to come.

How to Make a Sourdough Starter (Beginner Guide)
Ingredients
- 100g wholemeal flour (Day 1)
- 100g lukewarm water (Day 1)
- 50g bread flour or all-purpose flour (for daily feeding)
- 50g water (for daily feeding)
Instructions
- 1
Day 1: Combine 100g wholemeal flour and 100g lukewarm water (26–30°C) in a clean jar. Stir until smooth. Cover loosely and leave at room temperature for 24 hours.
- 2
Day 2: Discard half of the mixture. Add 50g flour and 50g water. Stir well. Cover loosely and leave for 24 hours.
- 3
Day 3: Repeat feeding by discarding half, then adding 50g flour and 50g water. Stir and leave at room temperature.
- 4
Days 4–6: Continue daily feeding using the same method. The starter should begin showing bubbles and rising.
- 5
Day 7: The starter is ready when it doubles in size within 4–6 hours after feeding and smells pleasantly sour.
- 6
For refrigerator storage: Feed the starter, leave at room temperature for 1–2 hours, then close the lid fully and store in the fridge. Feed once weekly.
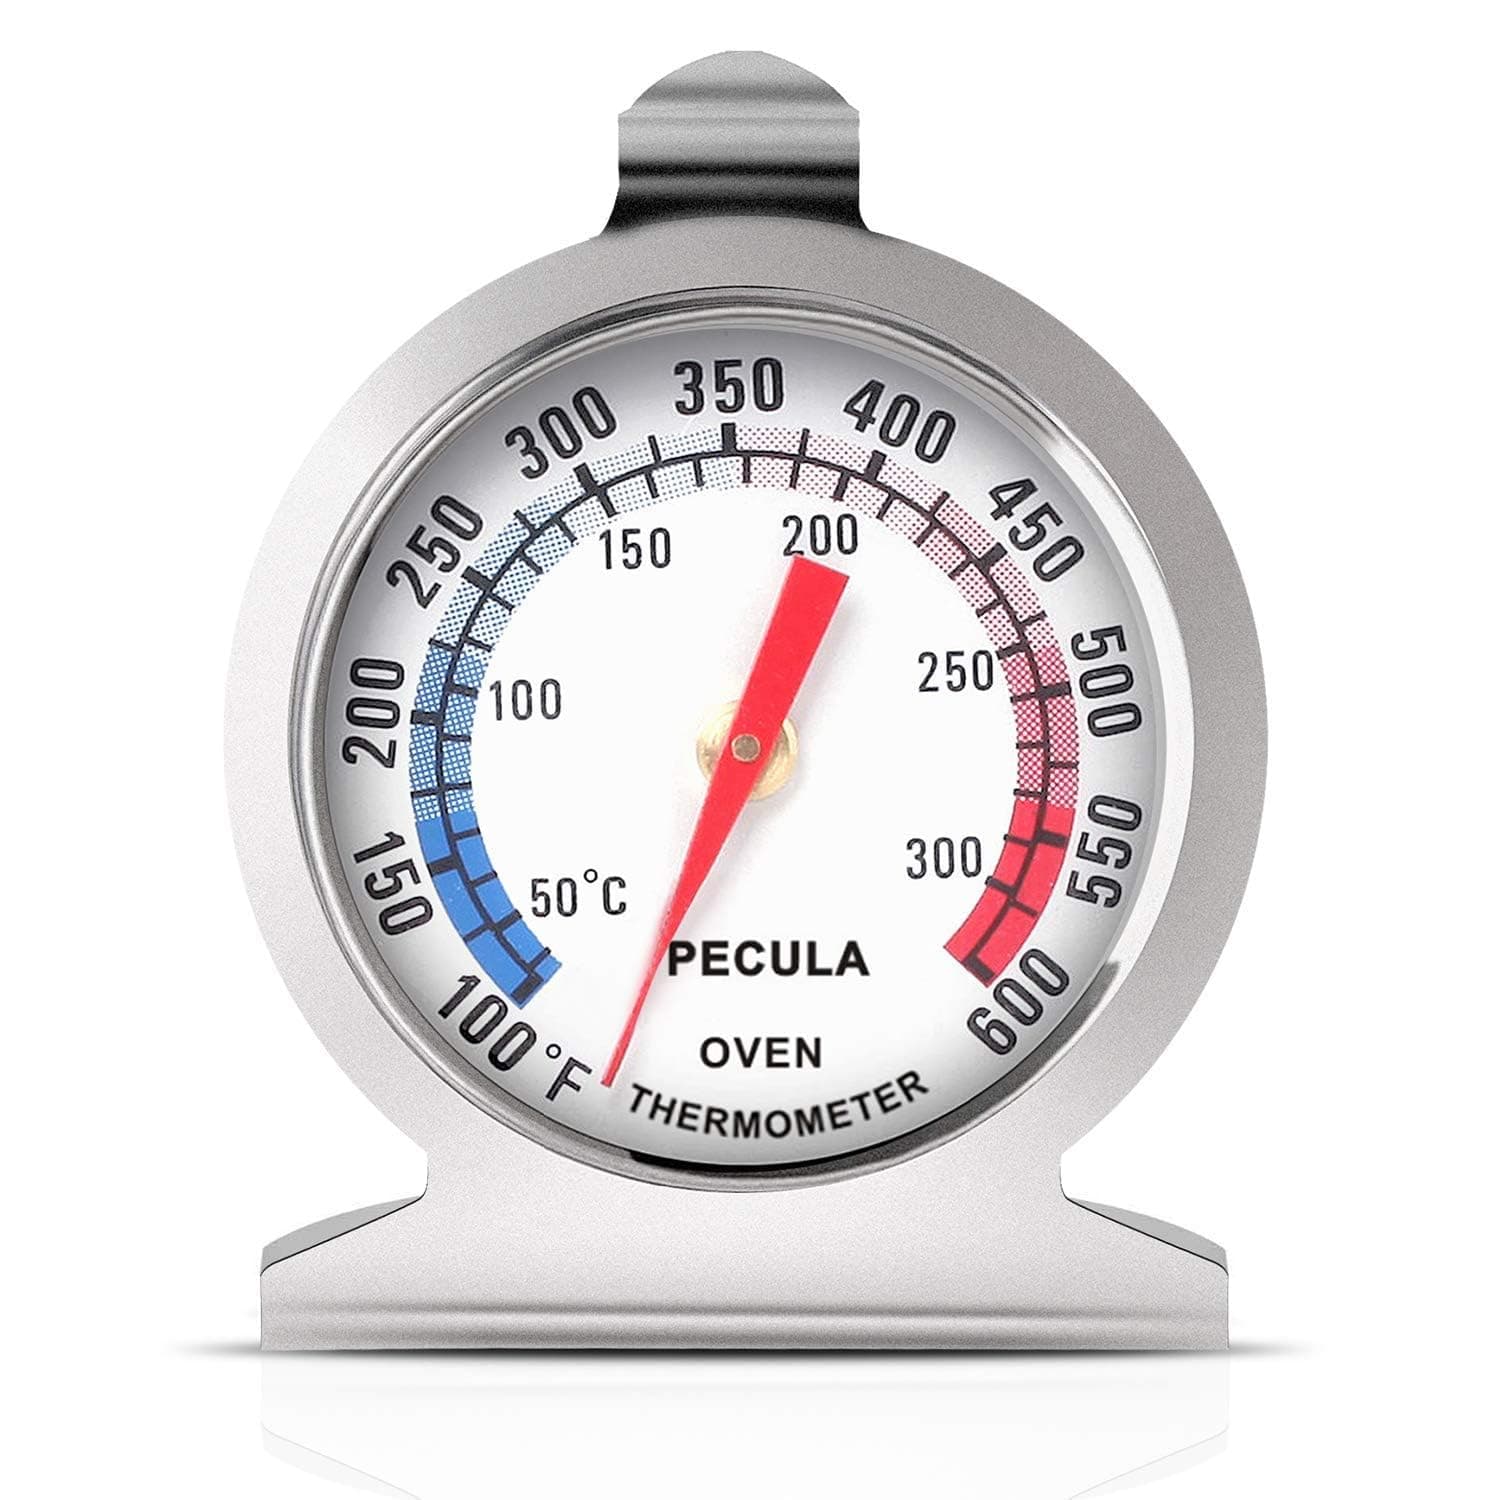
Featured in our shop: Oven Thermometer