Classic French Croquembouche Recipe

Classic French Croquembouche Recipe

ByWei Ling
4 min
0.0(0)
Prep Time
1 hour 30 minutes
Cook Time
20-25 minutes per batch, or until thoroughly dry
Total Time
115 min
Servings
Approximately 65-80 bite-sized cream puffs
Difficulty
hard

Learn how to make a classic French croquembouche at home with crisp choux pastry, creamy vanilla filling and golden caramel. Step-by-step recipe.

A croquembouche is one of the most impressive creations in French pâtisserie. Made from delicate choux pastry puffs filled with smooth vanilla pastry cream, this towering dessert is held together with golden caramel that hardens into a crisp, brittle coating.

Its name comes from the French croque en bouche, meaning ‘crunches in the mouth’, a reference to the delightful contrast between the crisp caramel, light pastry and creamy filling.

Curious about the origins of this impressive French dessert? Discover its fascinating story in Croquembouche History: Origins of the French Choux Tower.

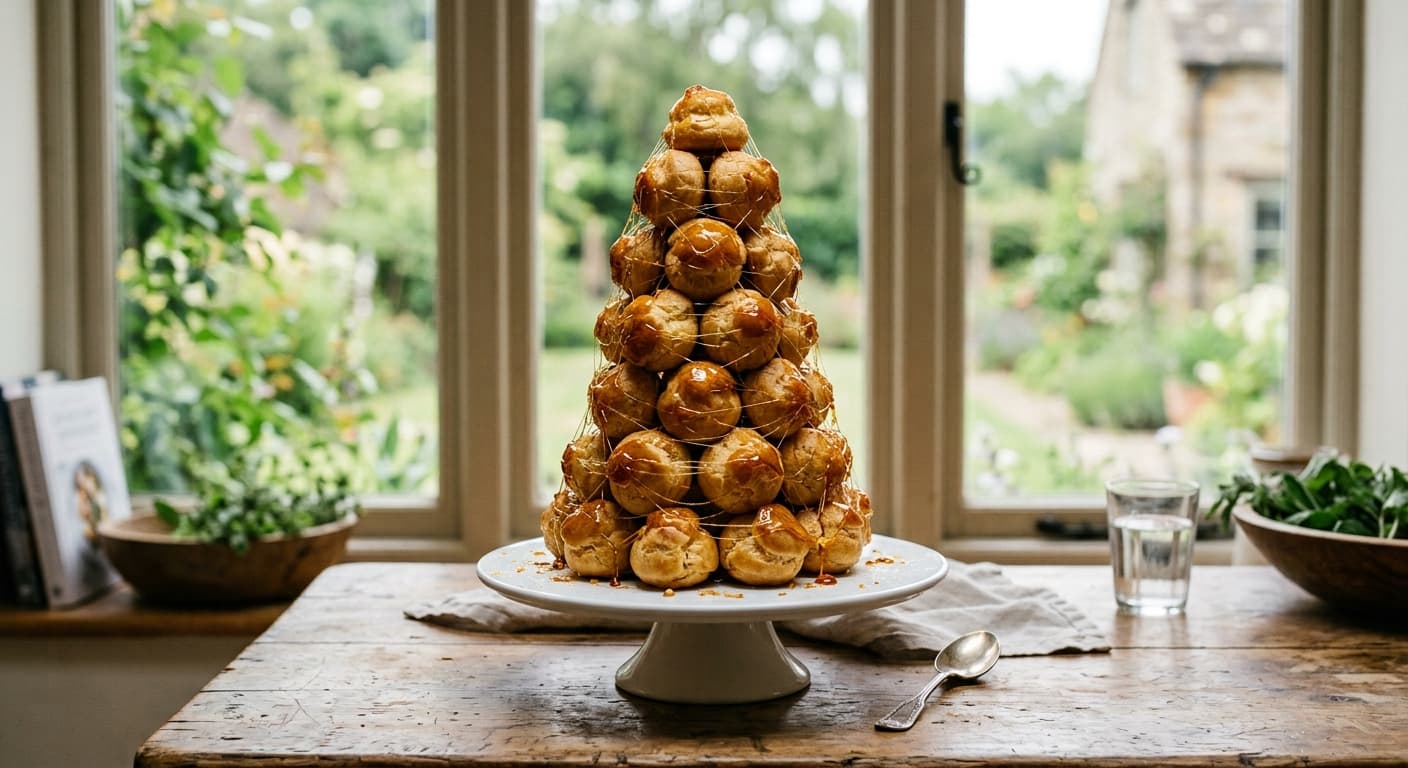
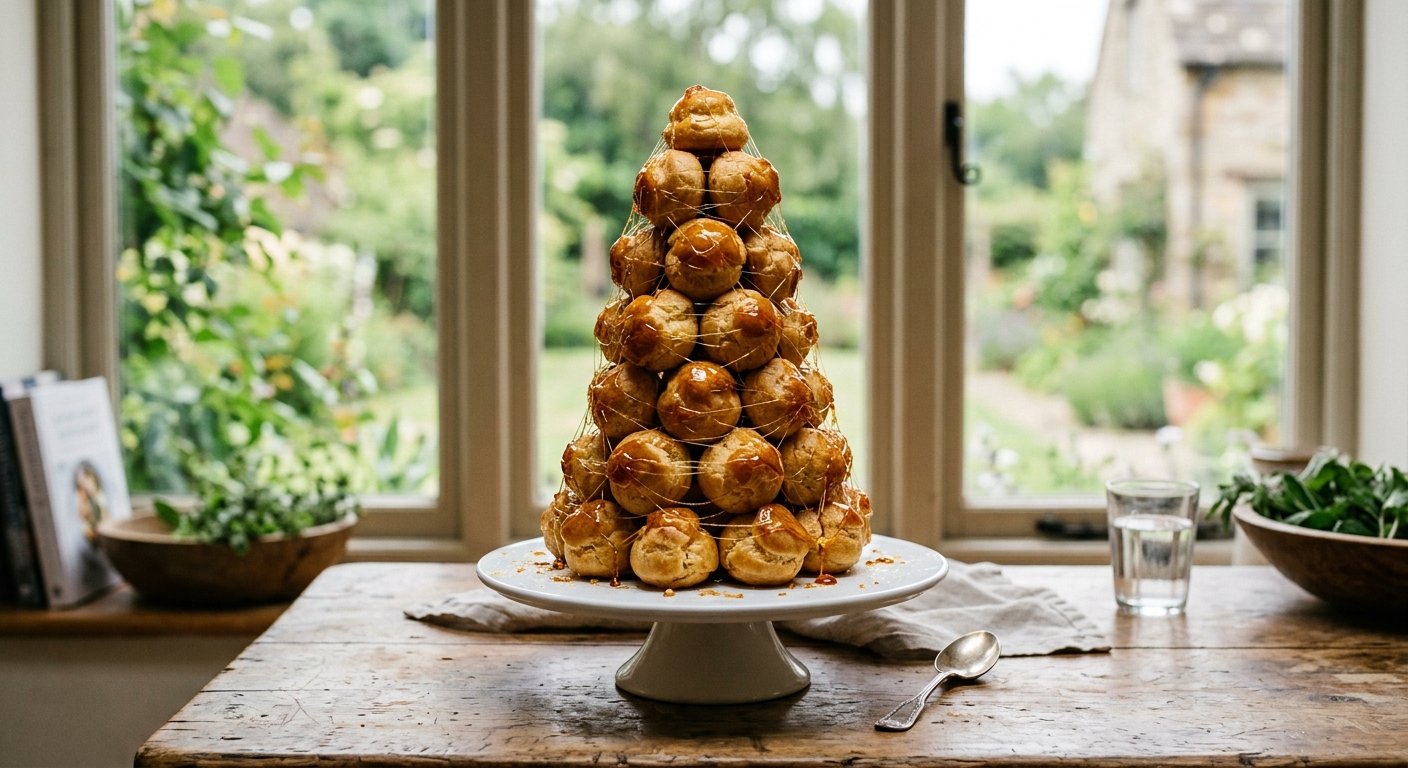
Traditional French croquembouche tower of small cream puffs coated in golden caramel.
Classic French croquembouche made with bite-sized choux pastry puffs filled with vanilla crème pâtissière and held together with golden caramel.

Traditionally served at French weddings, christenings and other celebrations, croquembouche may look like something best left to professional pastry chefs. But is it really beyond the reach of home bakers?

Jamie Oliver once described croquembouche as “a little cheffy”, but what caught my attention was that he “wanted to show that anyone can make one”. I couldn’t agree more.

What I love about croquembouche is how it brings together familiar individual components — choux pastry, vanilla pastry cream and caramel — to create something so spectacular. None of these elements is particularly complicated on its own. It’s the way they come together that makes this dessert so special.

I wanted to show myself, and all of you reading this, that making a croquembouche at home is entirely possible. Yes, it takes a little patience, especially when assembling the tower, but that’s part of the fun. And there’s something immensely satisfying about creating such an impressive dessert with your own hands.

I’d love to hear from you if you give this recipe a try. Leave a comment below or send me an email to share your experience.

So go ahead — impress yourself and your guests with this homemade croquembouche!

Recommended Tools & Tips

Accuracy is particularly important when making choux pastry. A Digital Kitchen Scale allows you to weigh the flour, butter and eggs precisely. Weigh the beaten eggs separately and add them gradually, stopping when the dough reaches the correct consistency rather than automatically using the entire quantity.

Use a Piping Bag fitted with a 10–12 mm Plain Round Nozzle to pipe evenly sized choux puffs. For this croquembouche, aim for mounds approximately 2.5 cm in diameter and 1.5 cm high. A smaller round nozzle is useful for filling the baked shells with vanilla crème pâtissière.

A Silpat Silicone Baking Mat provides a reusable, non-stick surface for baking choux pastry and cooling caramel-coated puffs. You can read my detailed review here. If using a mat for baking, ensure it is oven-safe at the required temperature. Baking Parchment is also suitable for the choux pastry.

A Heavy-Based Saucepan distributes heat evenly, which is especially helpful when cooking the choux dough, preparing the pastry cream and making caramel. A stainless-steel saucepan also makes it easier to judge the colour of the caramel as it changes from clear to golden amber.

A Sturdy Wooden Spoon or Silicone Spatula is useful for incorporating the flour into the hot liquid and cooking the choux dough until it forms a smooth ball. A flexible silicone spatula also helps scrape down the mixing bowl when incorporating the eggs.

Heatproof Tongs are useful when handling the choux puffs during caramel coating and assembly. Choose tongs that provide a secure grip without crushing the delicate shells. Hot caramel can cause severe burns, so work carefully and avoid direct contact with the sugar.

Allow the baked choux puffs to cool completely on a Wire Rack before filling. Good air circulation helps prevent condensation from softening the shells. If necessary, return the puffs briefly to a low oven to dry them further.

A stable base is essential when assembling a freestanding croquembouche. Choose a flat, sturdy Cake Board or serving plate large enough to accommodate the first ring of cream puffs. For this recipe, a base approximately 20 cm in diameter is a useful starting point, although the final dimensions will depend on the size and number of puffs.

Classic French Croquembouche Recipe

Prep: 1 hour 30 minutesCook: 20-25 minutes per batch, or until thoroughly dryServes: Approximately 65-80 bite-sized cream puffshard

Instructions

  1. 1

    VANILLA CRÈME PÂTISSIÈRE:

  2. 2

    Heat the milk with the vanilla seeds and pod until steaming. Leave to infuse for 10 minutes, then remove the pod.

  3. 3

    Whisk the egg yolks, sugar and salt together. Add the cornflour and mix until smooth.

  4. 4

    Gradually whisk the warm milk into the egg mixture.

  5. 5

    Return to the saucepan and cook over medium heat, whisking constantly until thickened and bubbling.

  6. 6

    Continue cooking at a gentle boil for 1–2 minutes while whisking.

  7. 7

    Remove from the heat and stir in the butter. Add vanilla extract now if using.

  8. 8

    Transfer to a shallow dish, cover the surface directly with cling film, cool promptly and refrigerate for at least 2 hours.

  9. 9

    CHOUX PASTRY:

  10. 10

    Preheat the oven to 200°C (180°C fan). Line baking trays with baking parchment.

  11. 11

    Combine the water, butter, sugar and salt in a saucepan. Heat gently until the butter has completely melted and the sugar and salt have dissolved, then bring to a full boil.

  12. 12

    Remove from the heat and add the sifted flour all at once. Stir vigorously until the flour is fully incorporated and the mixture forms a smooth dough.

  13. 13

    Return to low-medium heat and cook for approximately 1–2 minutes, stirring continuously. The dough should form a cohesive ball, pull away from the sides of the saucepan and leave a thin film on the bottom of the pan.

  14. 14

    Transfer the dough to a mixing bowl and allow it to cool slightly, stirring occasionally to release steam. The dough should be warm but not hot, ideally around 60–70°C, before adding the eggs.

  15. 15

    Gradually incorporate the beaten eggs in several additions, mixing thoroughly after each addition. The dough should become smooth and glossy, falling slowly from the spatula to form a thick V-shaped ribbon. You may not need all the eggs, depending on the consistency of the dough.

  16. 16

    Transfer the choux pastry to a piping bag fitted with a 10–12 mm plain round nozzle.

  17. 17

    Pipe small, evenly sized mounds approximately 2.5 cm in diameter and 1.5 cm high, leaving at least 3 cm between them. Aim for approximately 65–80 puffs, depending on piping size.

  18. 18

    Gently smooth any pointed tips with a damp fingertip.

  19. 19

    Bake for approximately 20–25 minutes until the puffs are well risen, golden brown and firm. Avoid opening the oven during the first 15–20 minutes.

  20. 20

    Once the shells have developed a firm crust and are nearly baked, carefully remove the tray and pierce the base of each puff with a skewer or small knife to release trapped steam. Return to the oven for another 5 minutes, or until the shells are thoroughly dry and crisp.

  21. 21

    Transfer the baked choux puffs to a wire rack and allow them to cool completely before filling.

  22. 22

    FILLING:

  23. 23

    Whisk the chilled pastry cream briefly until smooth.

  24. 24

    Transfer to a piping bag fitted with a small plain round nozzle.

  25. 25

    Use a paring knife to make a small slit in the base of each choux puff.

  26. 26

    Pipe in the pastry cream until the puff feels noticeably heavier.

  27. 27

    Refrigerate the filled puffs until ready to assemble.

  28. 28

    CARAMEL:

  29. 29

    Combine the sugar and water in a heavy-bottomed saucepan.

  30. 30

    Heat gently until the sugar dissolves.

  31. 31

    Bring to a boil without stirring and cook until golden amber.

  32. 32

    Remove from the heat and allow the bubbles to subside.

  33. 33

    Using heatproof tongs, carefully dip the tops of the filled puffs into the caramel.

  34. 34

    Place on a silicone baking mat, caramel-side up, and allow to harden.

  35. 35

    ASSEMBLY:

  36. 36

    Arrange a circular base of choux puffs on a sturdy serving plate.

  37. 37

    Use small amounts of warm caramel to join the puffs together.

  38. 38

    Build successive rings, positioning each layer slightly inward to form a cone.

  39. 39

    Continue until the tower tapers to a single puff at the top.

  40. 40

    Allow the caramel joints to harden between layers.

  41. 41

    If desired, decorate with fine caramel threads using two forks dipped into slightly cooled caramel.

  42. 42

    Serve shortly after assembly while the caramel remains crisp.
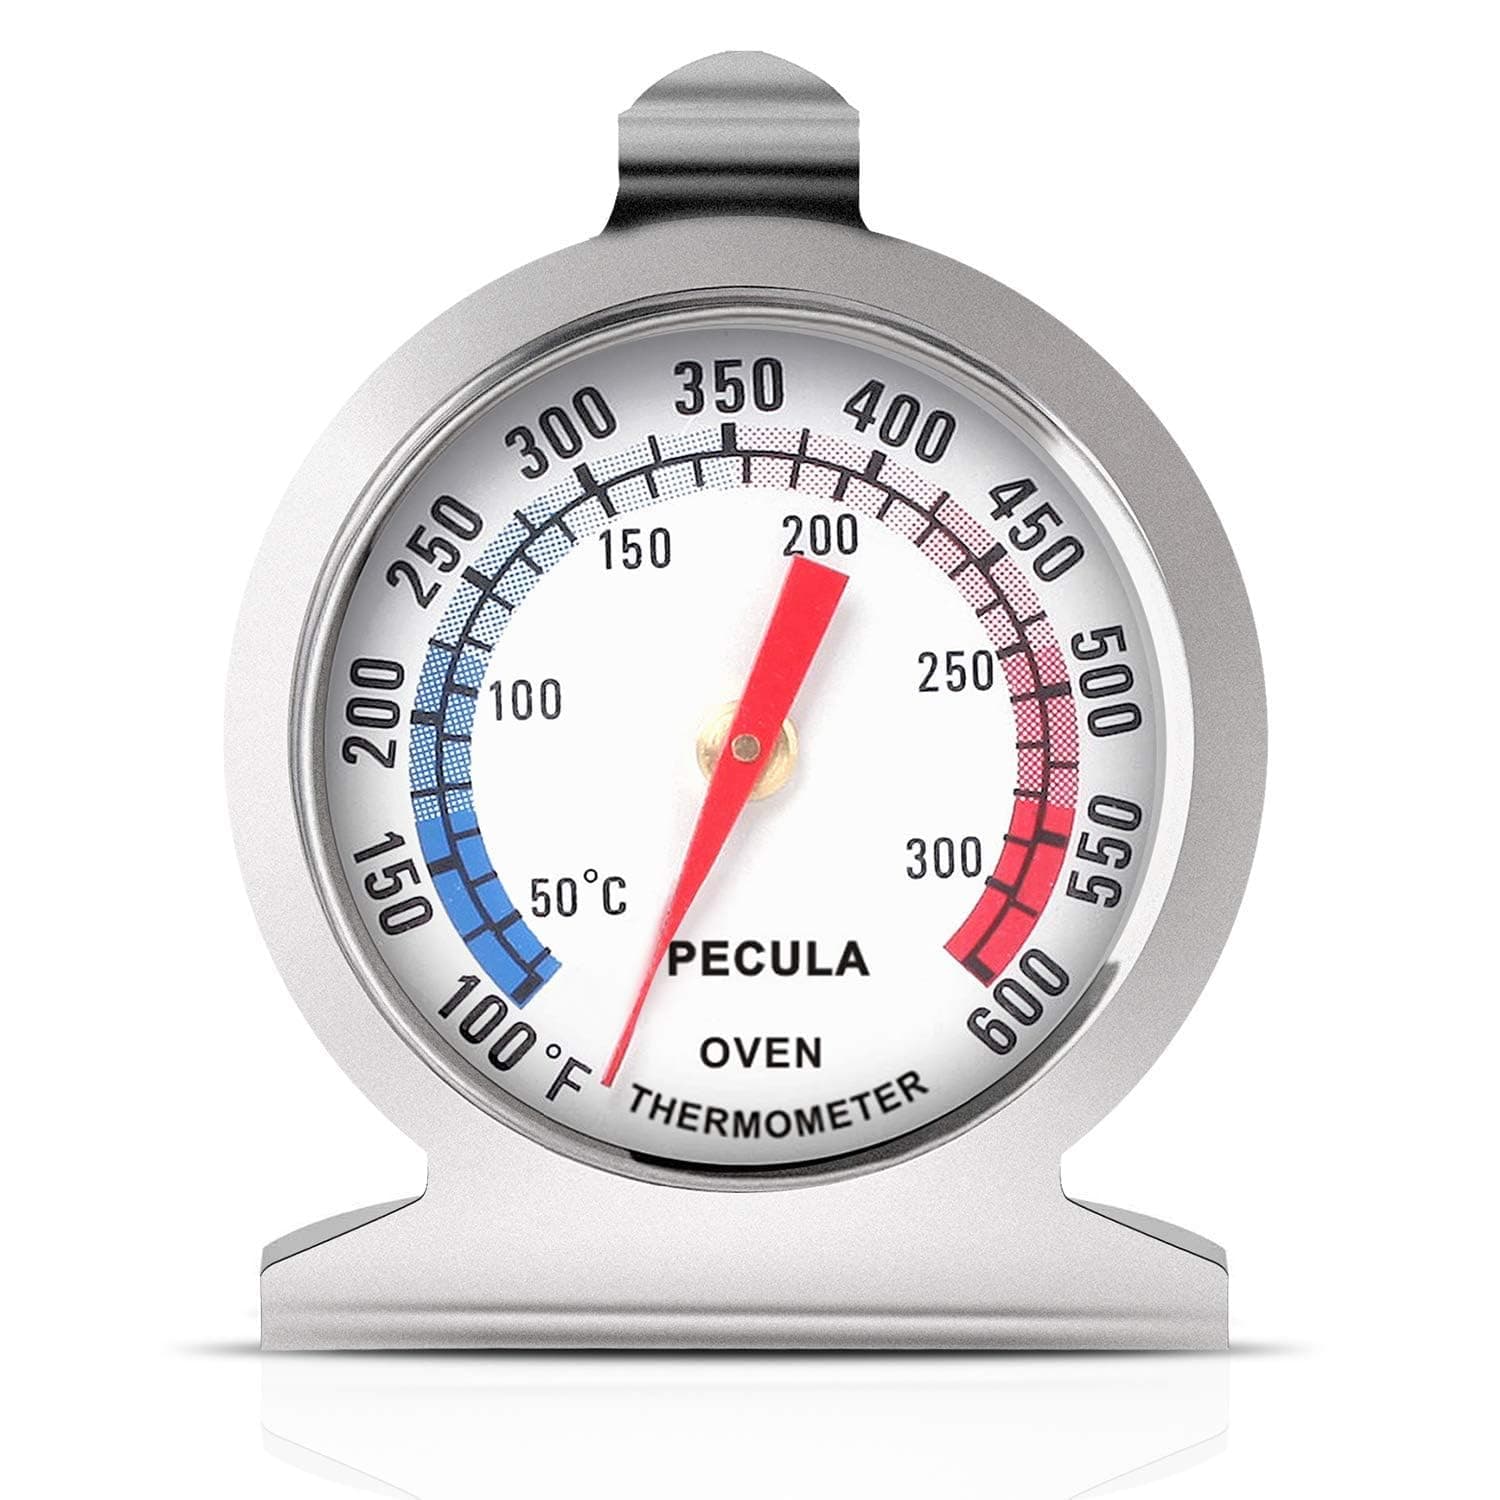
Oven Thermometer

Featured in our shop: Oven Thermometer

Shop Now