
Traditional Canadian Butter Tarts

Traditional Canadian Butter Tarts

ByWei Ling
4 min
0.0(0)
Prep Time
35 minutes (plus 45 minutes chilling)
Cook Time
12-15 minutes
Total Time
50 min
Servings
12 tarts

Bake traditional Canadian butter tarts with flaky pastry and a soft, gooey brown-sugar filling. Enjoy them plain or add raisins or nuts.

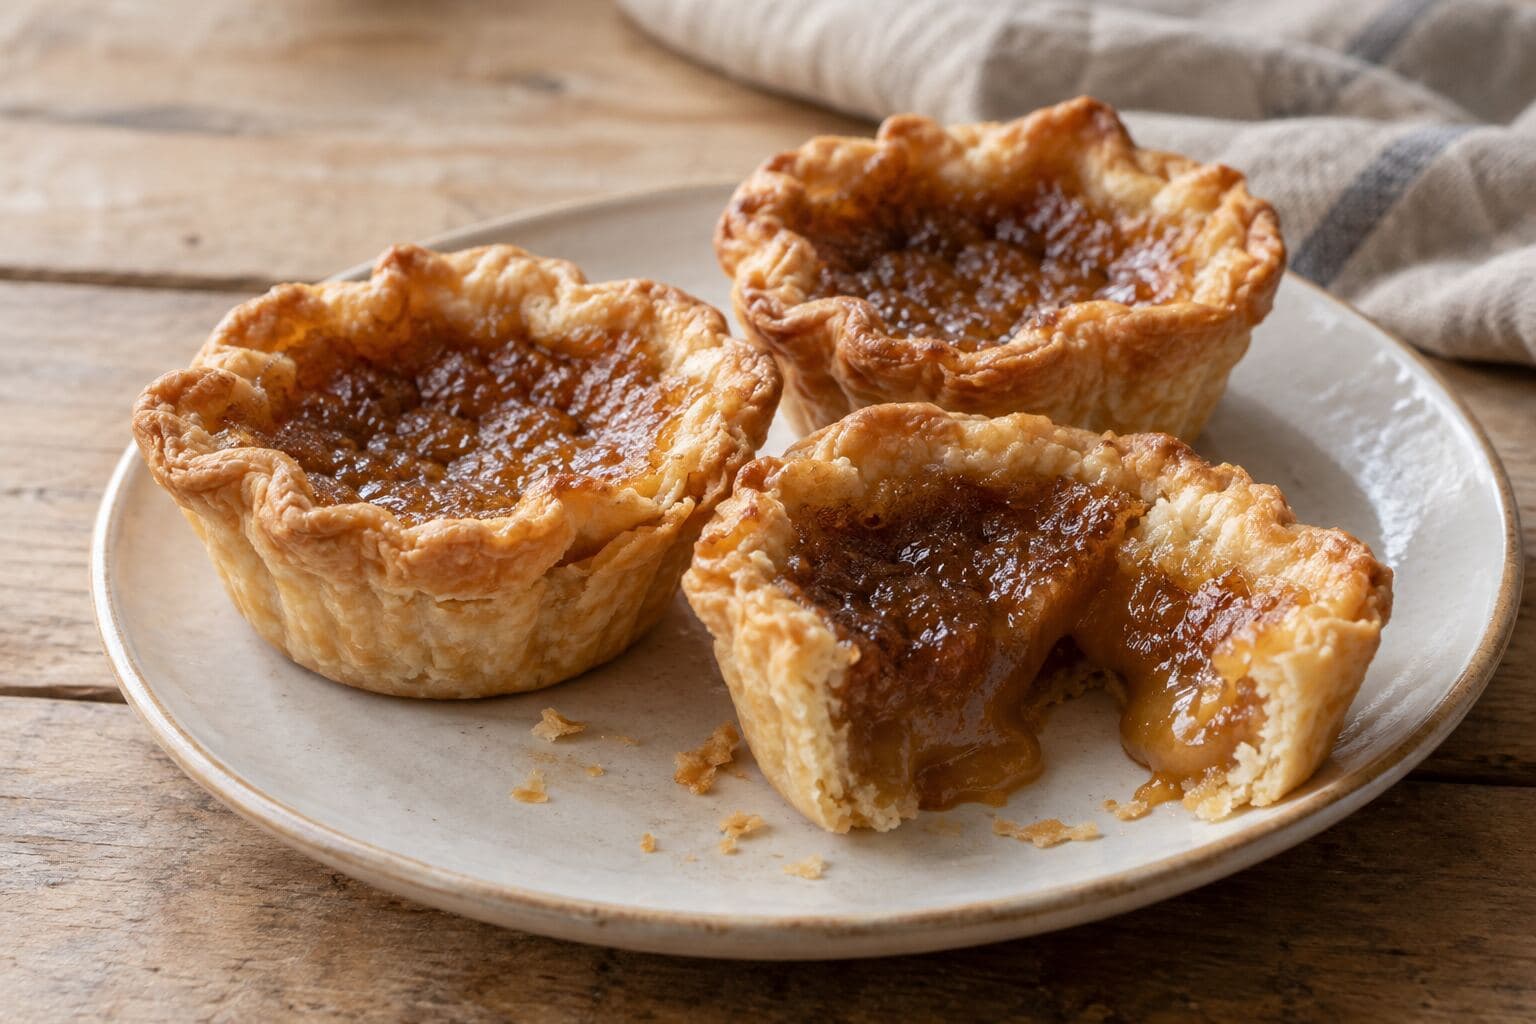
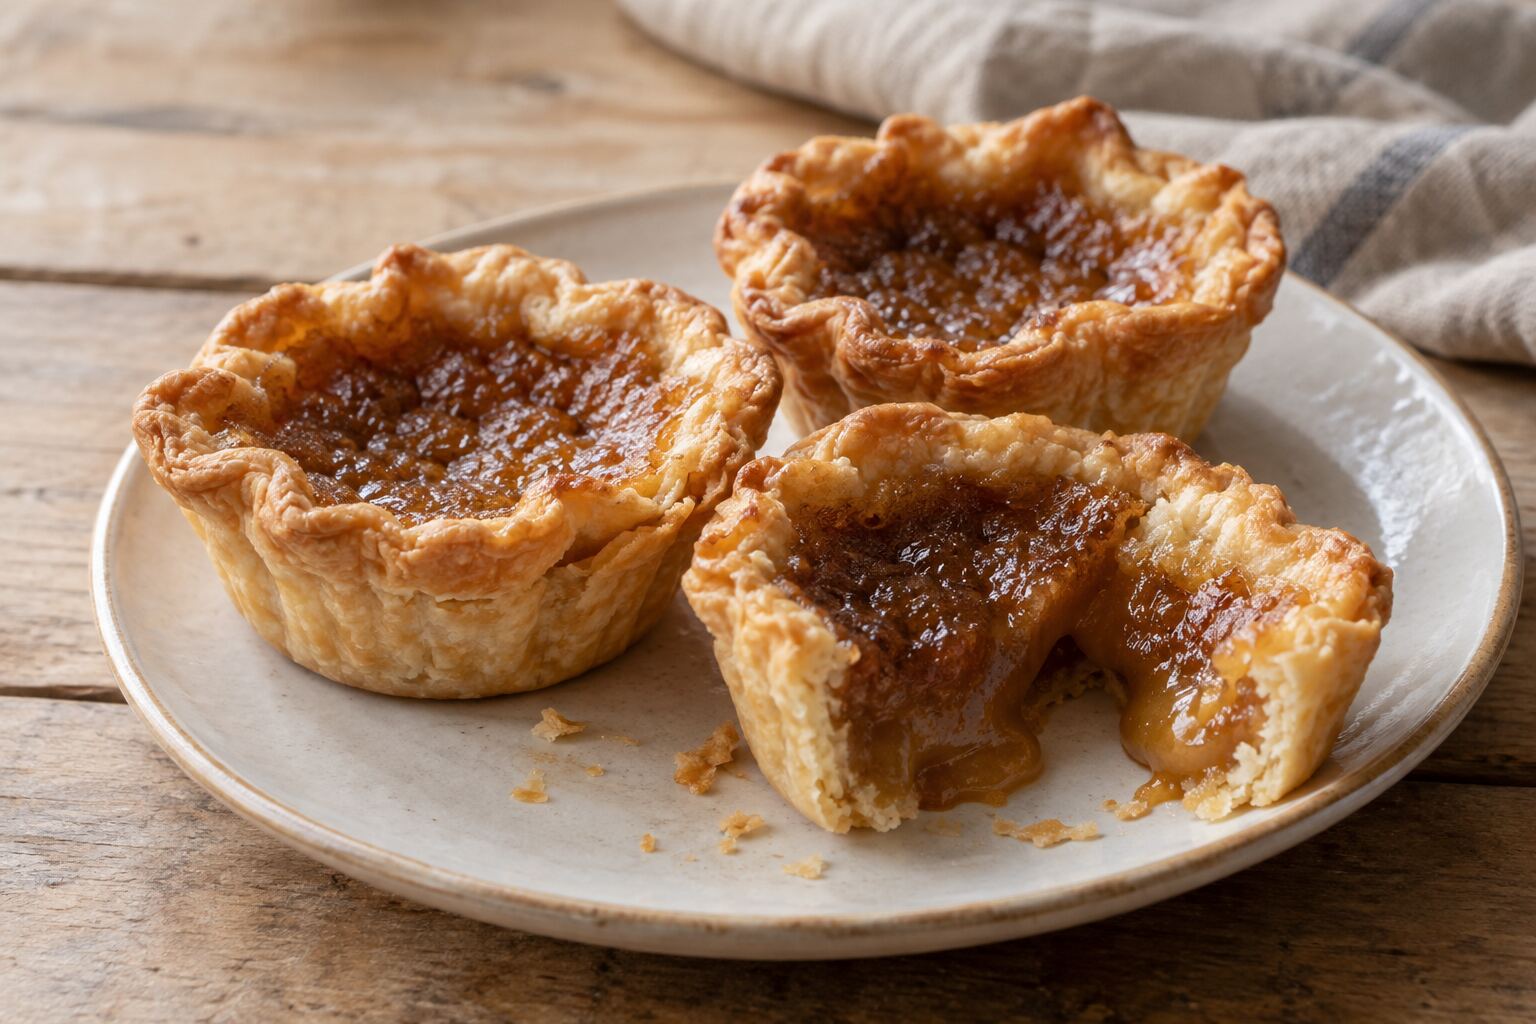
Canadian butter tarts have everything a small pastry should offer: crisp, flaky shells, caramelised tops and rich centres that remain soft and slightly runny. Their modest appearance gives little warning of how buttery and intensely sweet they are.

The filling is made by stirring melted butter with brown sugar, syrup and egg. In the oven, it puffs and forms a thin, crinkled surface while remaining glossy underneath. There is no need to cook the filling first or blind-bake the pastry cases.

This recipe makes classic plain butter tarts, allowing the buttery caramel filling to take centre stage. Raisins, chopped pecans or walnuts may be added if preferred, but they are entirely optional.

Discover how this humble pastry became a Canadian favourite in our article Canadian Butter Tarts: A Sweet National Obsession.

Plain Canadian butter tarts filled with runny butter and brown-sugar filling.
Canadian butter tarts with crisp, buttery pastry and soft, runny caramel centres.

What Makes a Good Butter Tart?

A good butter tart needs contrast. The pastry should be crisp enough to hold the filling without becoming tough, while the centre should set around the edges and remain softer in the middle. It is not a custard tart: the filling is darker, sweeter and more syrupy, with a texture somewhere between caramel and treacle.

This recipe produces the runnier style of butter tart, with a centre that remains glossy and gooey after cooling. Bake the tarts for the shorter time for a flowing centre, or give them another 2–3 minutes if you prefer the filling slightly more set.

Plain, with Raisins or with Nuts?

There is no version that will satisfy every Canadian. Many prefer their butter tarts plain, placing all the attention on the buttery caramel centre. Others consider raisins essential, while chopped pecans or walnuts add crunch and make the tarts resemble small nut pies.

For the classic plain version, simply leave out all additions. If using raisins, soaking them briefly in hot water keeps them plump. Drain and dry them carefully before placing them in the pastry shells, as excess water can dilute the filling.

Recommended Tools & Tips

A standard 12-hole Muffin Tin gives the tarts their familiar deep, fluted shape. Avoid using a shallow mince-pie tin, which leaves too little room for the filling.

Using a Rolling Pin, roll the pastry to approximately 3 mm thick and cut out 10 cm circles. Ease each circle into the tin without stretching it, as stretched pastry contracts in the oven. The cases do not need to look perfectly uniform. Slightly ruffled edges suit these homely tarts.

Keep the pastry cool throughout. If it softens while you are lining the tin, refrigerate the completed shells for 15 minutes before filling them.

Mix the filling gently rather than beating it vigorously. Too much incorporated air can create an excessively foamy surface. Stir until the mixture is smooth, then divide it among the shells, filling each no more than two-thirds full. The filling bubbles and rises as it bakes, and overfilled tarts can spill over and stick to the tin.

The tarts are ready when the pastry is golden and the filling has puffed around the edges. The centres should still wobble when the tin is moved. They will settle and thicken as they cool but should remain gooey.

Storage

Keep the cooled butter tarts in an airtight container at room temperature for up to 2 days. For longer storage, refrigerate them for up to 5 days and bring them to room temperature before serving.

The tarts can be frozen for up to 2 months. Freeze them in a single layer until firm, then transfer them to a freezer-safe container with baking paper between the layers. Thaw at room temperature. To refresh the pastry, warm the tarts at 160°C/140°C fan for approximately 5 minutes.

Traditional Canadian Butter Tarts

Prep: 35 minutes (plus 45 minutes chilling)Cook: 12-15 minutesServes: 12 tarts

Instructions

  1. 1

    Make the pastry. Combine the flour, sugar and salt in a large bowl. Add the cold butter and rub it into the flour with your fingertips until the mixture contains a combination of fine crumbs and small, flattened pieces of butter.

  2. 2

    Add 75 ml ice-cold water and mix gently with a fork. Add the remaining water, 1 teaspoon at a time, only until the dough holds together when pressed. It should not feel wet or sticky.

  3. 3

    Bring the dough together without kneading, shape it into a flat disc and wrap it. Refrigerate for at least 30 minutes.

  4. 4

    Prepare the tin. Lightly grease a standard 12-hole muffin tin. On a lightly floured surface, roll the chilled pastry to approximately 3 mm thick. Cut out 12 circles with a 10 cm round cutter, rerolling the scraps once if necessary.

  5. 5

    Gently ease the pastry circles into the muffin holes without stretching them. Refrigerate the lined tin for 15 minutes while heating the oven to 220°C/200°C fan. Position a shelf in the lower third of the oven.

  6. 6

    Prepare any optional additions.

  7. 7

    For plain butter tarts, proceed directly to the filling. If using raisins, cover them with hot water and leave for 10 minutes. Drain thoroughly and pat dry. Divide the raisins or chopped nuts among the chilled pastry shells.

  8. 8

    Make the filling. Place the melted butter, brown sugar, golden syrup, egg, vanilla and salt in a medium bowl. Whisk gently until smooth and evenly combined, taking care not to incorporate too much air.

  9. 9

    Divide the filling among the pastry shells, filling each approximately two-thirds full. Do not overfill them.

  10. 10

    Bake the tarts. Bake in the lower third of the oven for 12–15 minutes, until the pastry edges are golden and the filling is bubbling and puffed around the edges. At 12–13 minutes, the centres should remain quite runny; at 14–15 minutes, they will be slightly more set but still gooey.

  11. 11

    Leave the tarts in the tin for 8–10 minutes. While they are still warm, run a thin palette knife around any sticky edges and carefully transfer the tarts to a wire rack. Allow them to cool before serving, as the filling will be extremely hot and will continue to set.
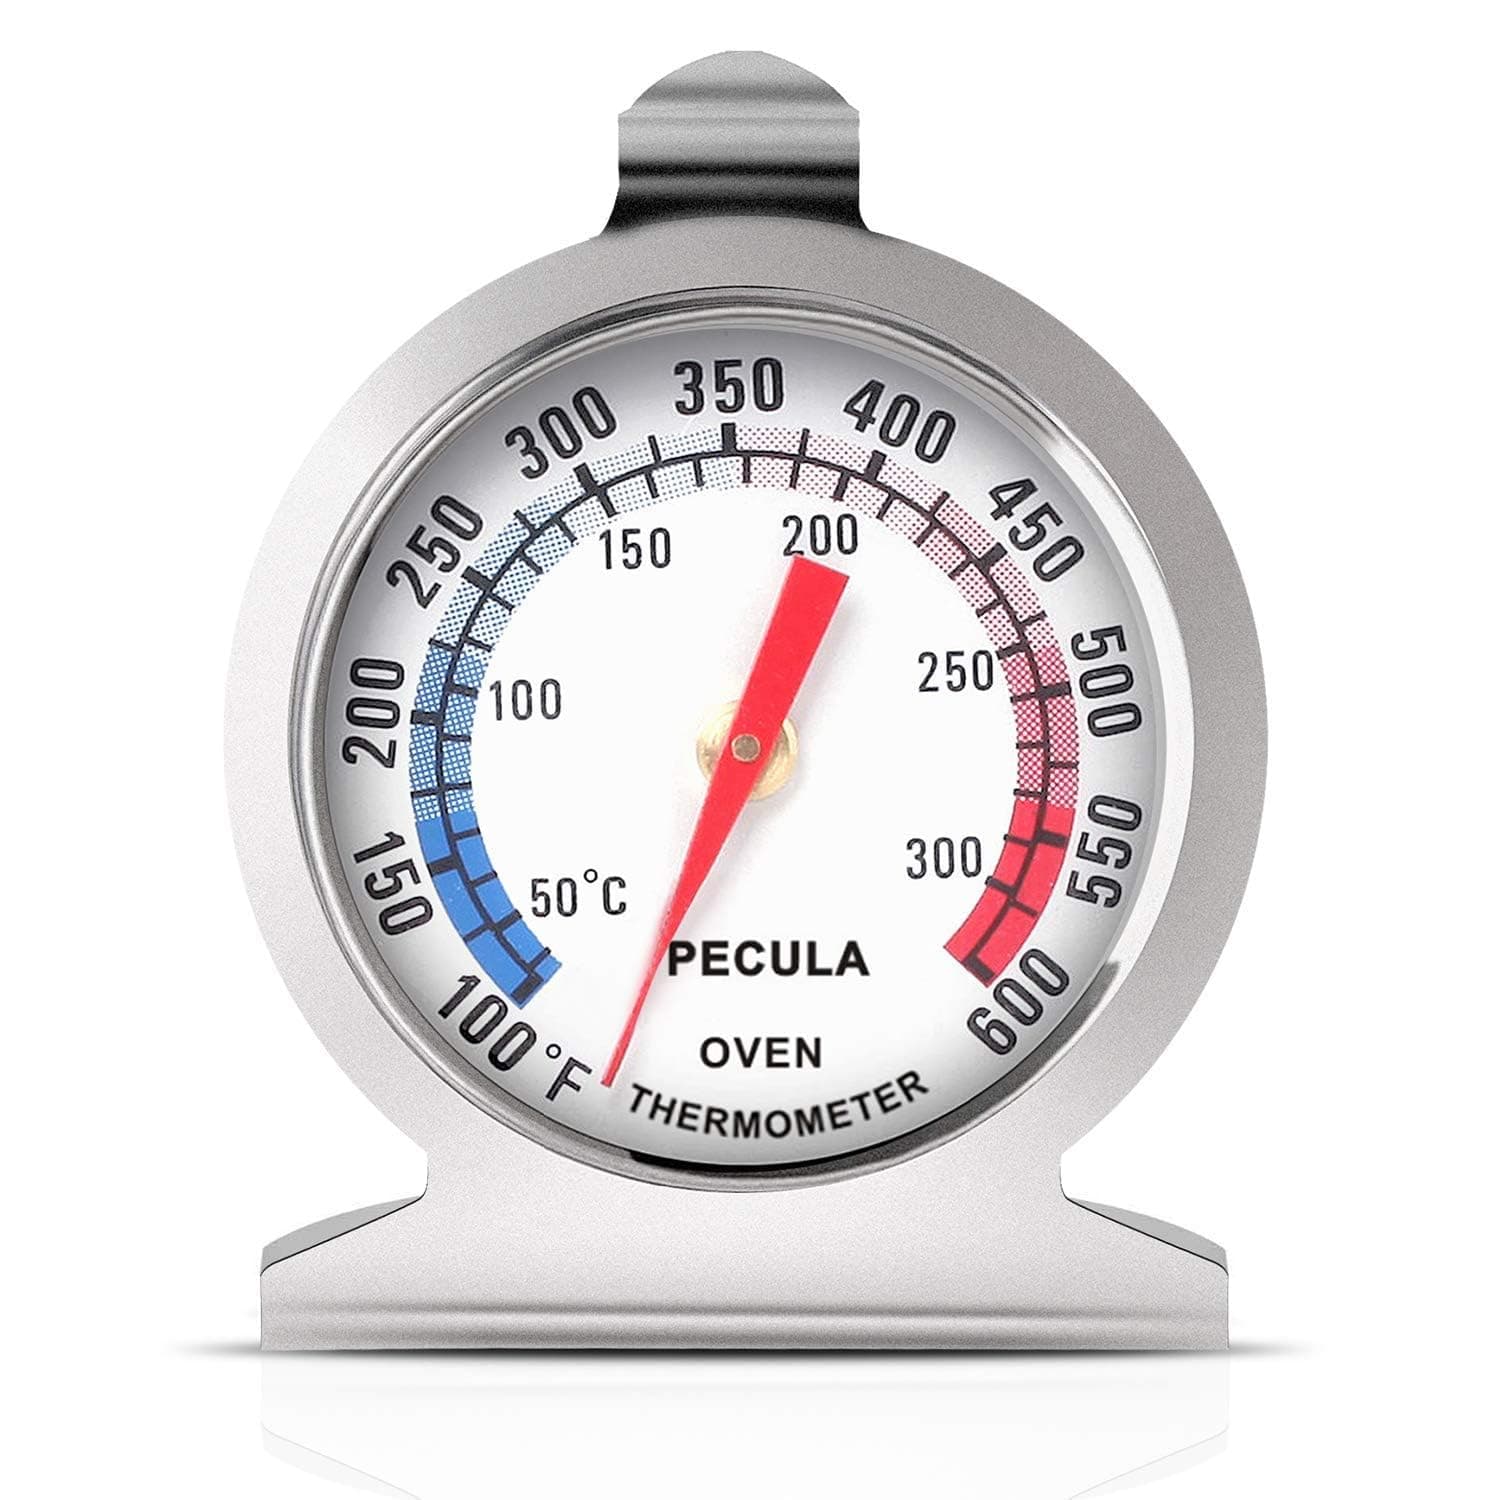
Oven Thermometer

Featured in our shop: Oven Thermometer

Shop Now