

Karpatka Recipe: Polish Carpathian Mountain Cream Cake
Ingredients
- FOR THE CHOUX PASTRY:
- 125ml water
- 125ml whole milk
- 100g unsalted butter
- ½ tsp salt
- 1 tsp caster sugar
- 150g plain flour
- 4 large eggs, at room temperature
- FOR THE VANILLA CUSTARD CREAM:
- 600ml whole milk
- 1 tsp vanilla extract or vanilla bean paste
- 150g caster sugar
- 4 large egg yolks
- 50g cornflour
- 200g unsalted butter, softened
- TO FINISH:
- Icing sugar, for dusting
Instructions
- 1
MAKE THE CHOUX PASTRY:
- 2
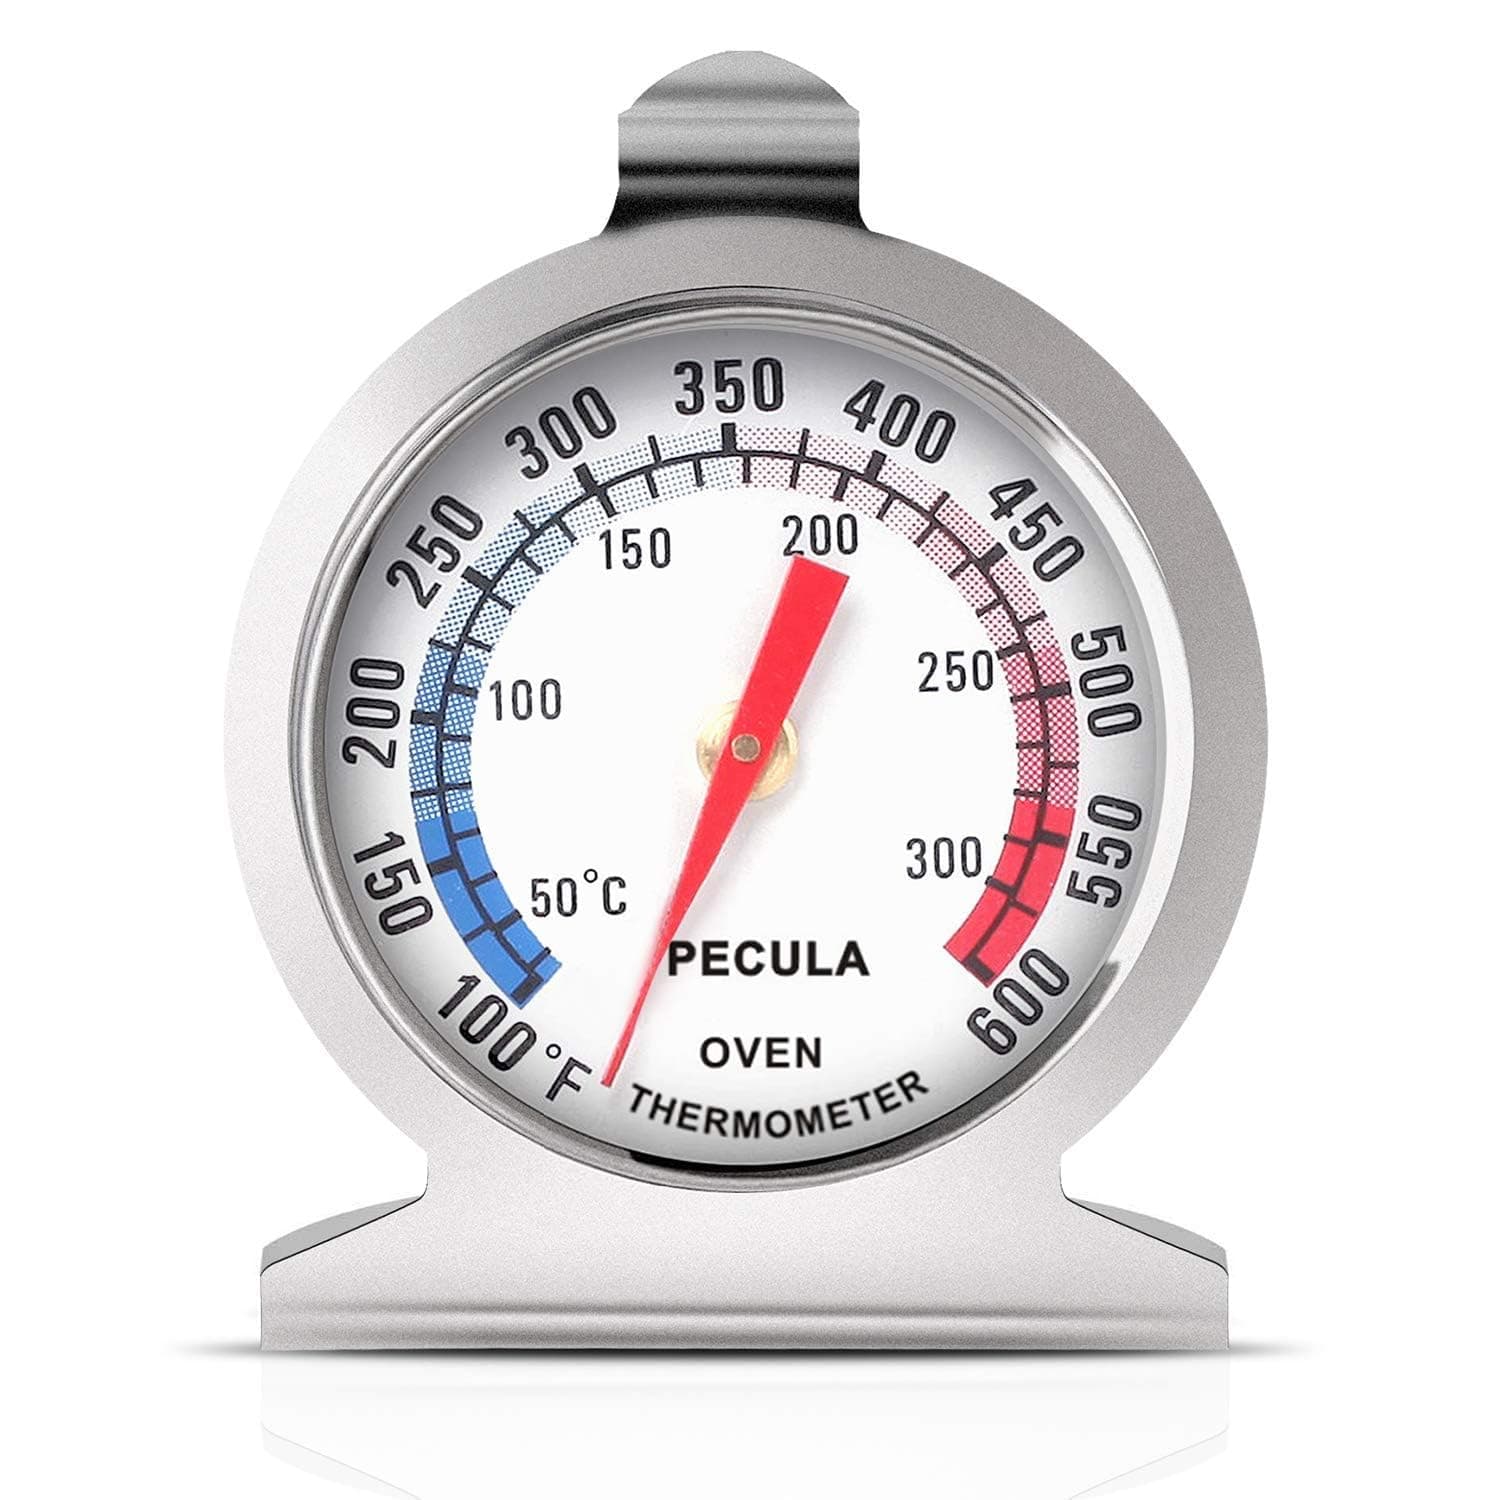
Preheat the oven to 200°C/180°C fan. Grease and line the base of a 20 cm square baking tin with baking parchment.
- 3
Put the water, milk, butter, salt and sugar into a saucepan. Heat gently until the butter has melted, then bring the mixture just to the boil.
- 4
Remove the saucepan from the heat and immediately add all the flour. Beat vigorously with a wooden spoon until the mixture forms a smooth dough and pulls away from the sides of the pan.
- 5
Return the saucepan to low heat and cook the dough for about 1–2 minutes, stirring continuously, to remove some of the excess moisture.
- 6
Transfer the dough to a mixing bowl and leave to cool for about 5–10 minutes. It should still be warm but not hot enough to cook the eggs.
- 7
Beat in the eggs gradually, adding a little at a time and mixing thoroughly after each addition. The finished dough should be glossy, thick and soft enough to drop slowly from a spoon.
- 8
Spread half the dough over the base of the prepared tin. Do not flatten it completely; leave plenty of uneven swirls and ridges.
- 9
Bake for 25–30 minutes until well risen, deeply golden and dry to the touch. Avoid opening the oven during the first 20 minutes.
- 10
Remove the pastry from the tin and leave to cool completely on a wire rack.
- 11
Repeat with the remaining dough to make the second layer. Leave both layers to cool completely.
- 12
MAKE THE VANILLA CREAM CUSTARD:
- 13
Pour 500ml of the milk into a saucepan with the vanilla and bring almost to the boil.
- 14
In a bowl, whisk the remaining 100ml milk with the sugar, egg yolks and cornflour until smooth.
- 15
Slowly pour some of the hot milk into the egg mixture while whisking continuously.
- 16
Pour everything back into the saucepan and cook over medium-low heat, whisking constantly, until the custard becomes very thick and begins to bubble.
- 17
Continue cooking for about 1 minute, whisking continuously, then remove from the heat.
- 18
Transfer the custard to a bowl and press cling film or reusable food wrap directly onto its surface to prevent a skin forming. Leave to cool completely to room temperature.
- 19
Beat the softened butter until pale and creamy.
- 20
Add the cooled custard to the butter gradually, beating well after each addition until the filling is smooth and fluffy. The butter and custard should be at approximately the same temperature to prevent the cream from splitting.
- 21
ASSEMBLE THE KARPATKA:
- 22
Place the flatter of the two pastry layers in the bottom of the clean baking tin.
- 23
Spread the vanilla custard cream evenly over the pastry, making sure it reaches the edges.
- 24
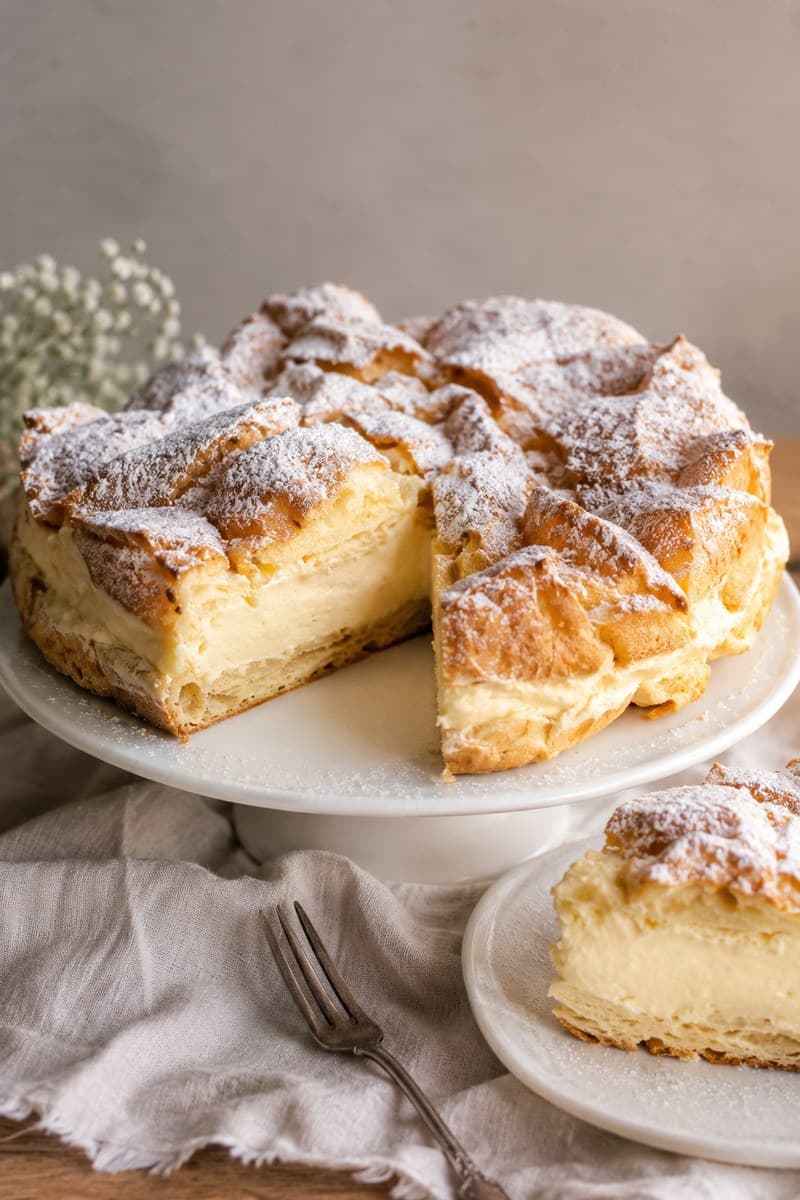
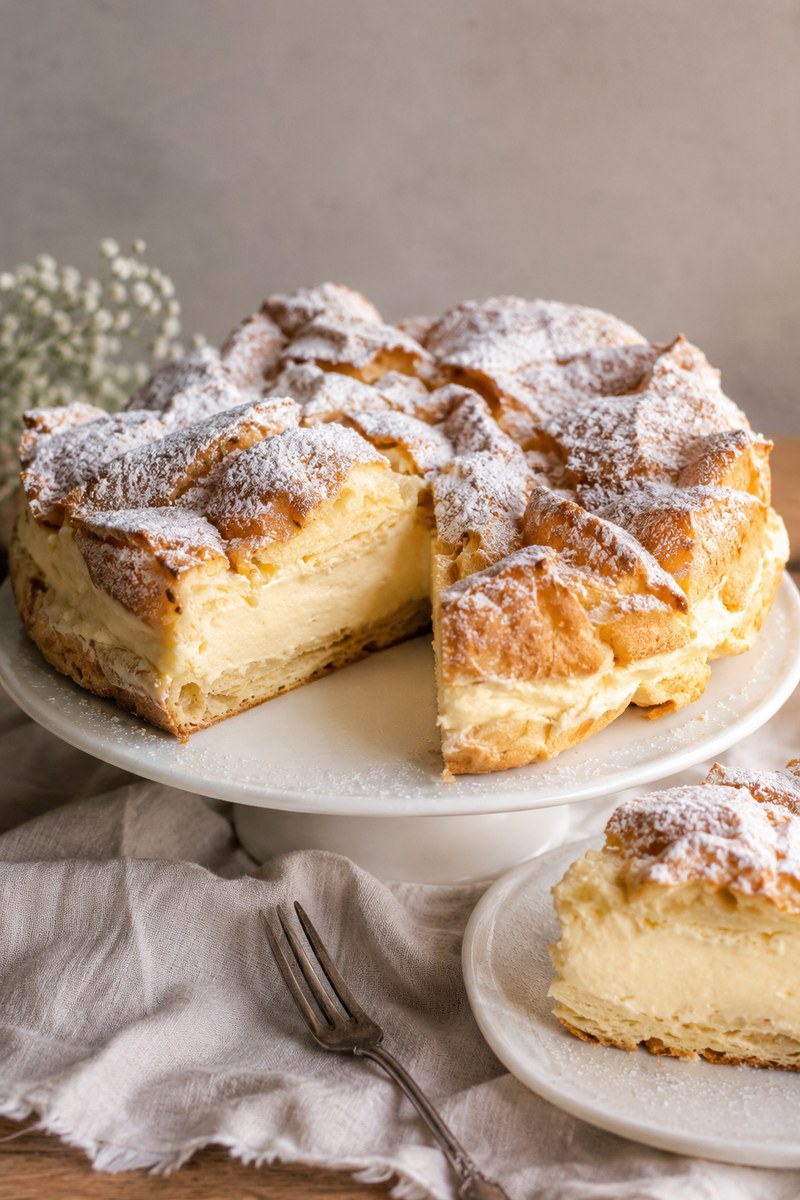
Place the more dramatically risen pastry layer on top, with its mountainous surface facing upwards. Press down very gently.
- 25
Refrigerate for at least 4 hours, although chilling overnight gives the filling more time to firm and makes the cake easier to slice.
- 26
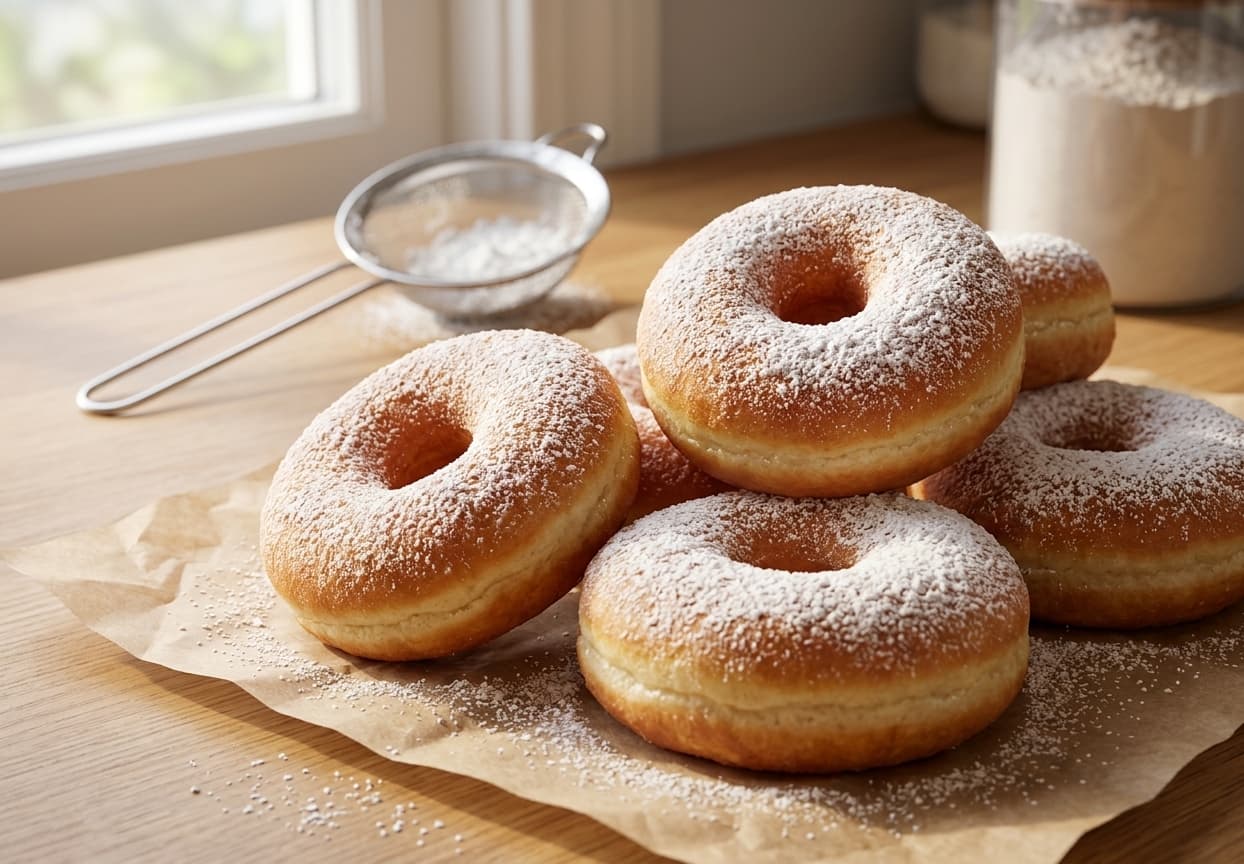
Just before serving, dust generously with icing sugar.
- 27
Slice into 10–12 portions and serve chilled.